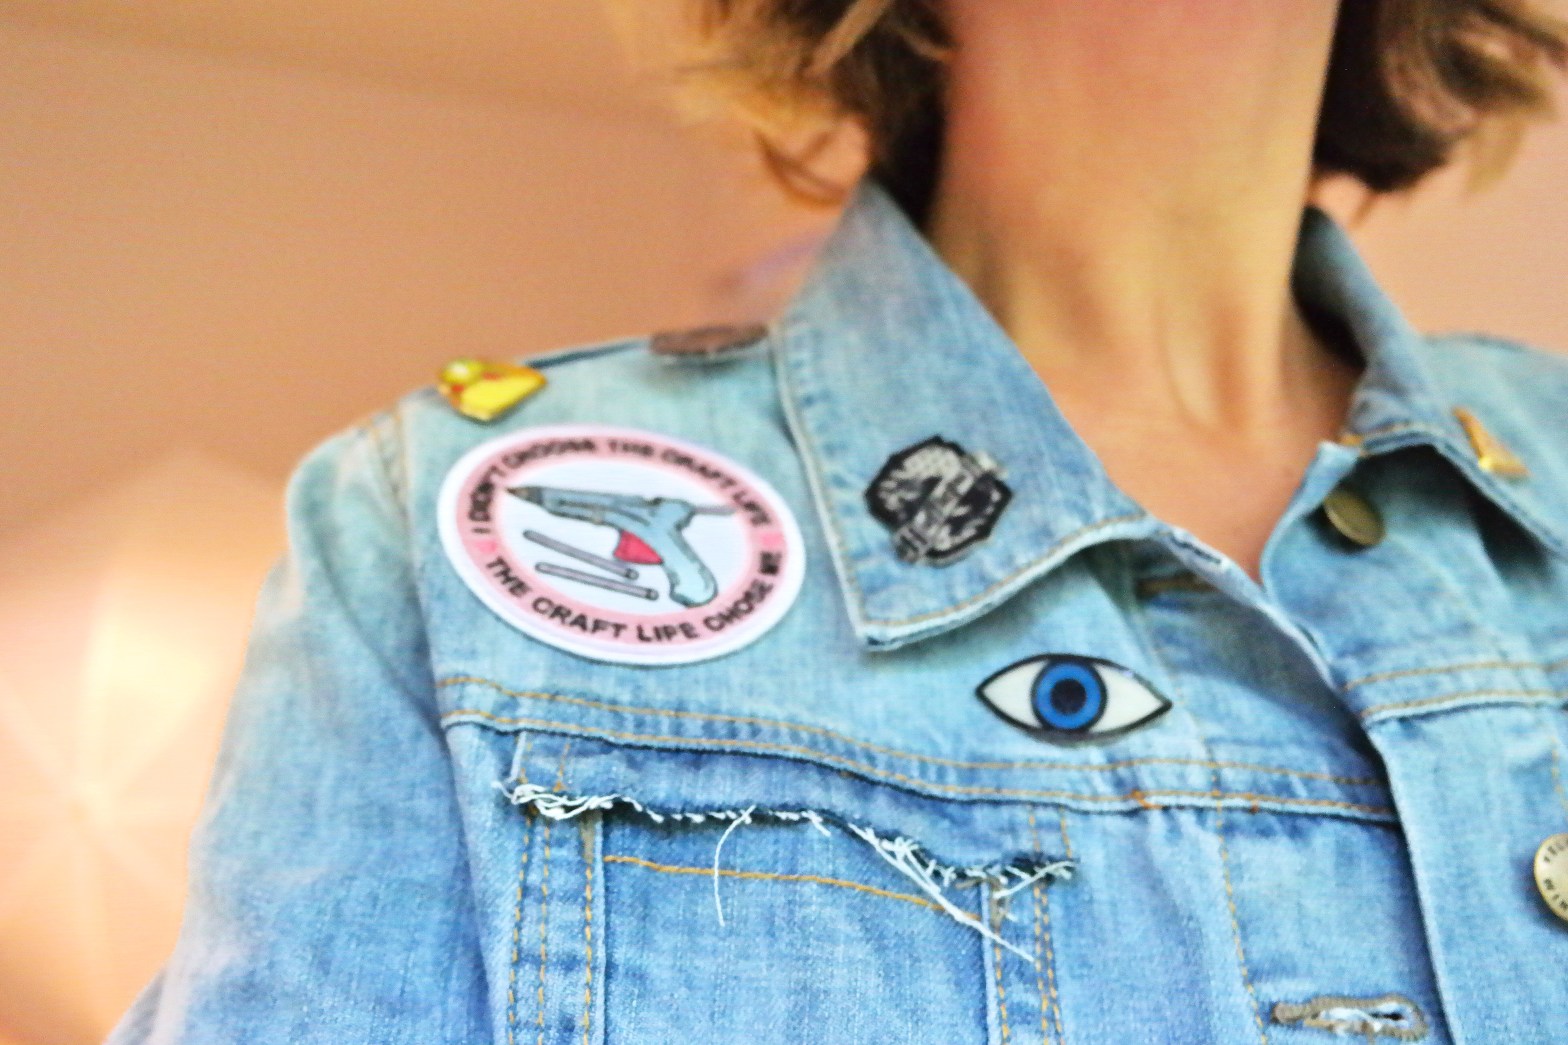
I love my blue jean jacket, and I have been collecting things to add to it to make it more unique. I wanted a way to make custom pins that didn’t cost a fortune and that I could use my own designs on. This is a super easy DIY that shows you how to create your own custom pins!

Supplies:
- Ink Jet Shrink Film
- Pin backs
- Mod Podge Dimensional Magic
- Printer or Sharpie Markers
- Parchment paper
- Scissors

Print your designs onto the Ink Jet Shrink Film. This product can be printed on either side so how you load it into your printer does not matter. You can download my designs that I used for this post for free here. If you do not own a printer you can just draw your designs straight onto the plastic with a permanent marker.
Keep in mind that they will shrink down to about half the size so if you are drawing your own make sure to make them twice as big as you want.

After it is printed you can cut out your designs. Take time cutting them out because you want the cuts to be clean so the edge of the pins look good when they are done shrinking.
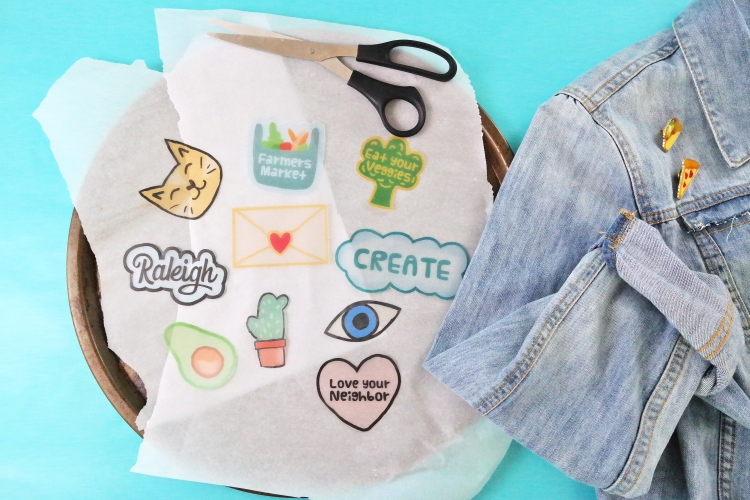
Arrange your pins on a cooking tray with parchment paper underneath to keep them from sticking. Make sure to leave room around each pin because they curl up in the oven and then flatten back out. They will be about half of the size they started at.
Place into an oven at 325 degrees for about 3 minutes, they will flatten out and as soon as they do pull them out.
If they do not flatten all of the way, grab another piece of parchment paper and set it on top of the designs. Pull the cooking tray out and set the designs and parchment paper down on the counter. So you will have a layer of parchment paper then the designs and then another layer of parchment. Take the hot pan (make sure to use gloves) and press it flat on top of the parchment paper. The heat should allow them to flatten out quickly, remove and let them cool down for a couple minutes.
The below video shows part of the oven process, I stopped the video before they completely flattened out but after 3 minutes they were flat.

Take the Mod Podge Dimensional Magic and carefully cover the tops of the pins. This is optional, It gives the pins a nice finished look. Let dry for about 6 hours.
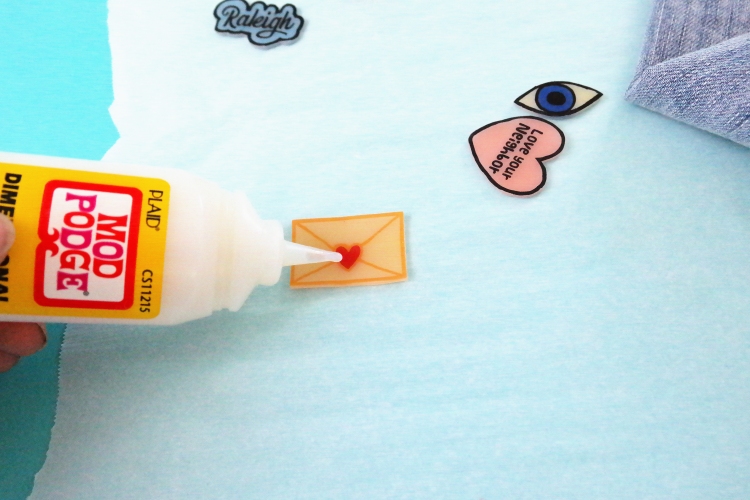
This product also seals the pins and creates a nice glossy bubble over the top. It makes the colors stand out really well too. This was my first time using dimensional magic and I am in love with it, I cant wait to try it out on other projects.


After they have dried you can now take the pin backs and glue them onto the back of the pins. I just used a small dab of the dimensional magic and they stayed put really well and dried quickly because it was just a small amount. You can use any type of glue that is strong enough to hold the pin backs in place.


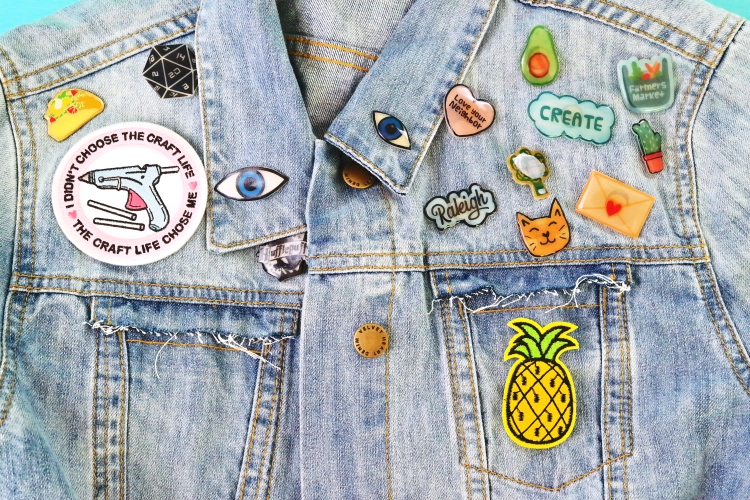


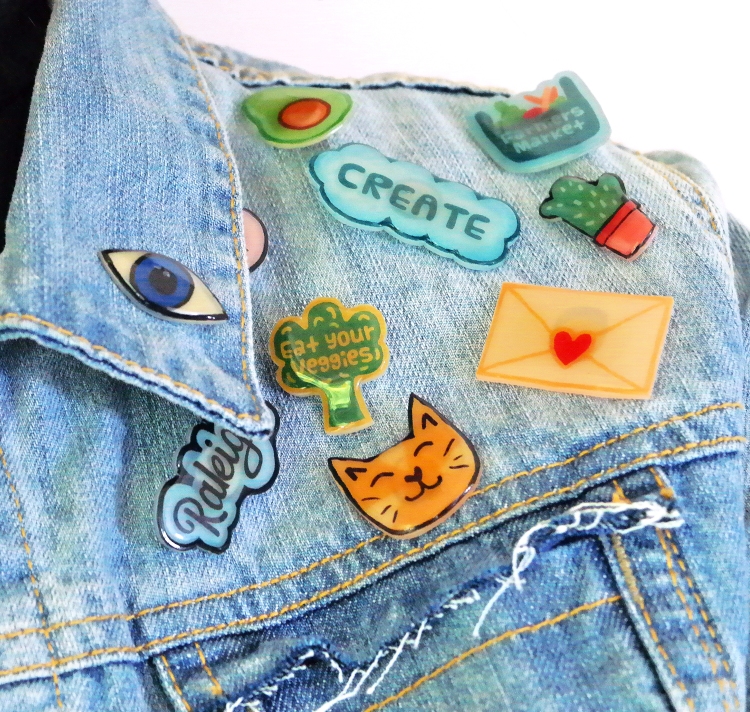
That’s it, we are finished and you have your own custom made pins!
Happy Crafting!


These are awesome!
LikeLiked by 1 person
How can I become a better DIY designer?
LikeLike
I recommend finding designs that you love and study how they did it. From the craft to the photography. Persever to figure out your style, to create it.
There are many resources online. If you have a more specific question we’d be happy to try and help.
LikeLike