
My husband and I have a Bengal cat, for anyone that does not know what exactly that means let me tell you. It means you will never sleep past 6:30 again, it means that even with the largest litter mat your floor will still be layered with litter. It means that you can’t leave anything important anywhere, and that you always have to be watching your back.
With that being said, we will eventually be teaching her to use the toilet. However, our temporary fix for now is to create a “place” for her to use the bathroom in hopes that the mess (and smell!) will be less noticeable to us.
DIY Cat Litter Box
- Acquire a box. We went to local thrift shops and goodwill’s until we found our Holy Grail! It was a beautiful .50 cent end table.

2. Take off the door, drill holes. The door in the front is where the cat will enter the box, and by no means is a trendy look. We also drilled 3 holes on each side on the time for ventilation, they are not visible when you are standing or even sitting next to the box.
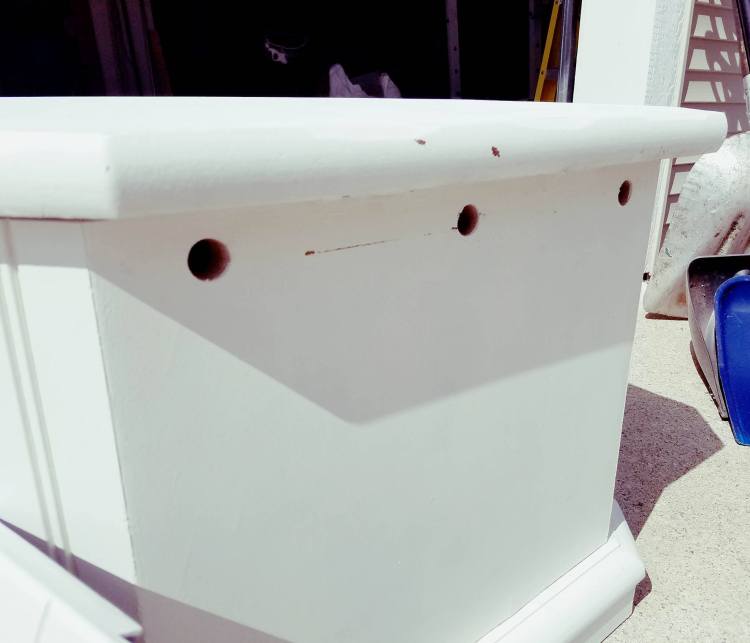
3. Sand anywhere that needs sanding, and fill holes. I sanded the top of this very well, and I sanded where the screws went in for the door, and then filled the screw holes.


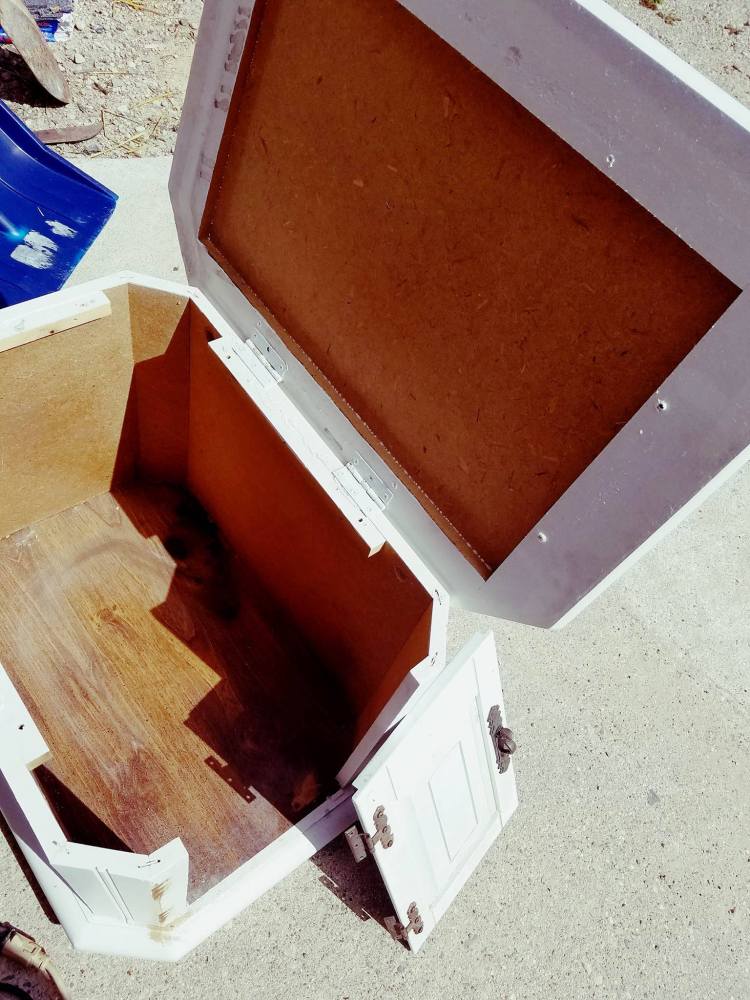
4.Tear off the top and add hinges. My husband took care of this part for me :) He tore off the top of the box, and screwed in new hinges, feel free to re-use the hinges from the door if they are strong.
5. Caulk the edges. The bottom crease of the box on the outside and inside really needed to be caulked on this box. We mainly did this on the inside to help reduce odor once we had everything finished. Make sure the caulk you use is Painters Caulk.


After pushing the caulk on the area desired, use your finger to smooth it out, then take a damp cloth and wash away any excess to smooth it out nicely.
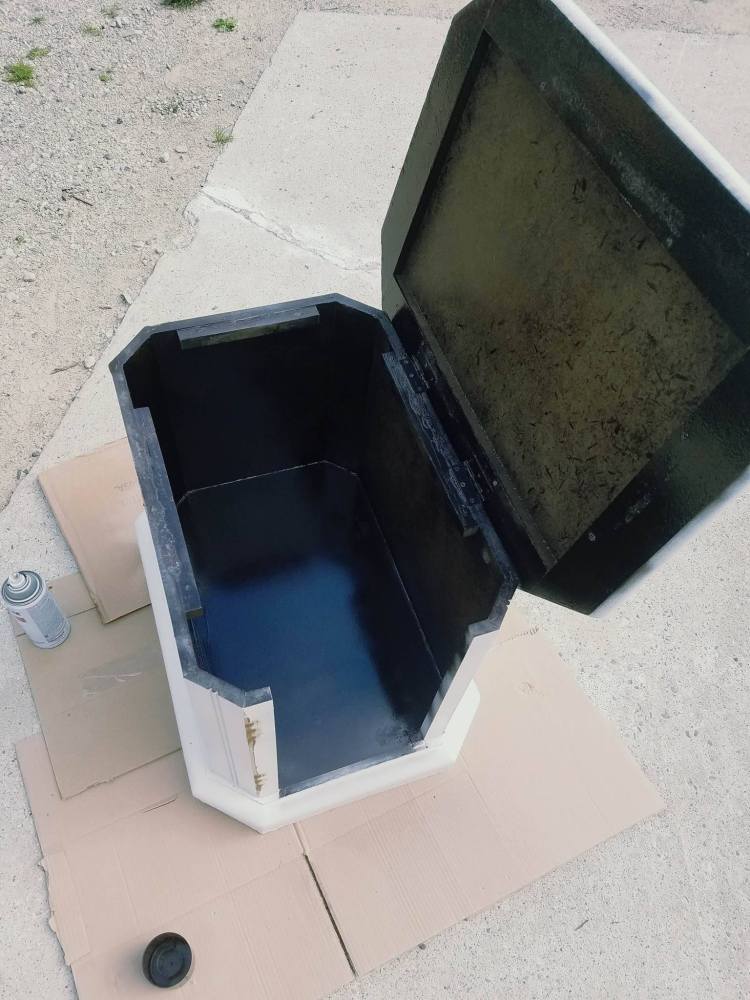
6. Spray paint the inside. I decided to do this to seal the wood from the inside to prevent the odor from being absorbed into the box. I used spray paint because the inside is not as important, and spray painting is easy.
7. Put on your first outside coat. I used leftover paint for this from a project my mom had done, it was really nice paint, and it did not take very much to do a coat on this box.
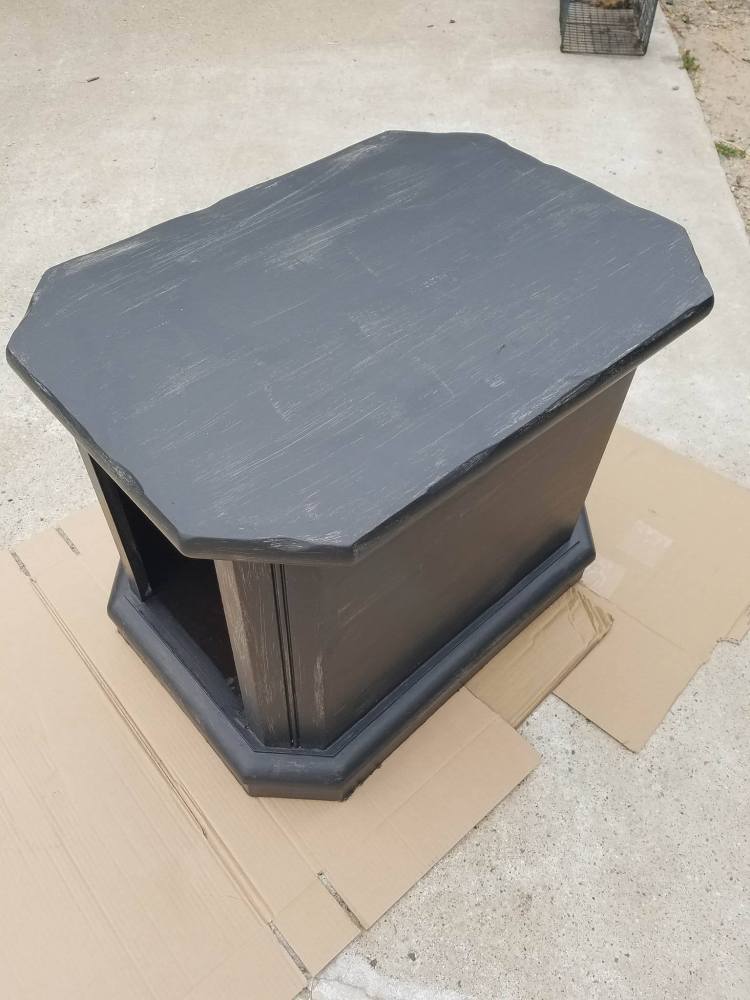
8. Do your second coat. I really liked having the white underneath this box, after the first coat I was getting excited!!
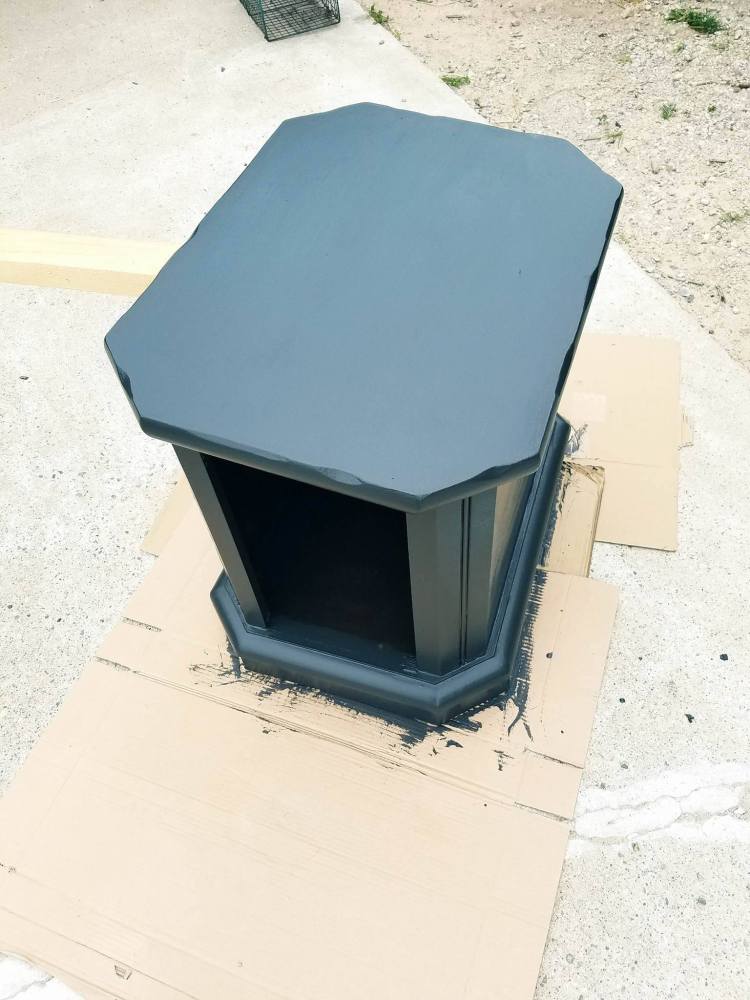
9. Sand the edges. Take some sand paper and lightly sand ALL edges of your box, created a distressed, outlined look. This adds character and makes the box classy!


Now your cat can use the potty in style!! This was an easy project, and did not take very long at all. Plus you have in between time when thee box is driving between coats. I hope you enjoy making this at home :)
Discover more from Holy Homesteading
Subscribe to get the latest posts sent to your email.

