I’ve been watching fluid art videos for awhile now and today’s the day I decided to try it out for myself and share with you how I did it and how it went.
If you don’t know what fluid art is I linked a video below describing a little bit of what it is.
Now that you know what fluid art is here is a list of supplies you will need to do it yourself.
Supplies
- Big tray to catch paint as it drips off
- Acryllic paint, hard body or soft body
- Water
- A pouring medium, see my picture for what brand I went with
- plastic cups
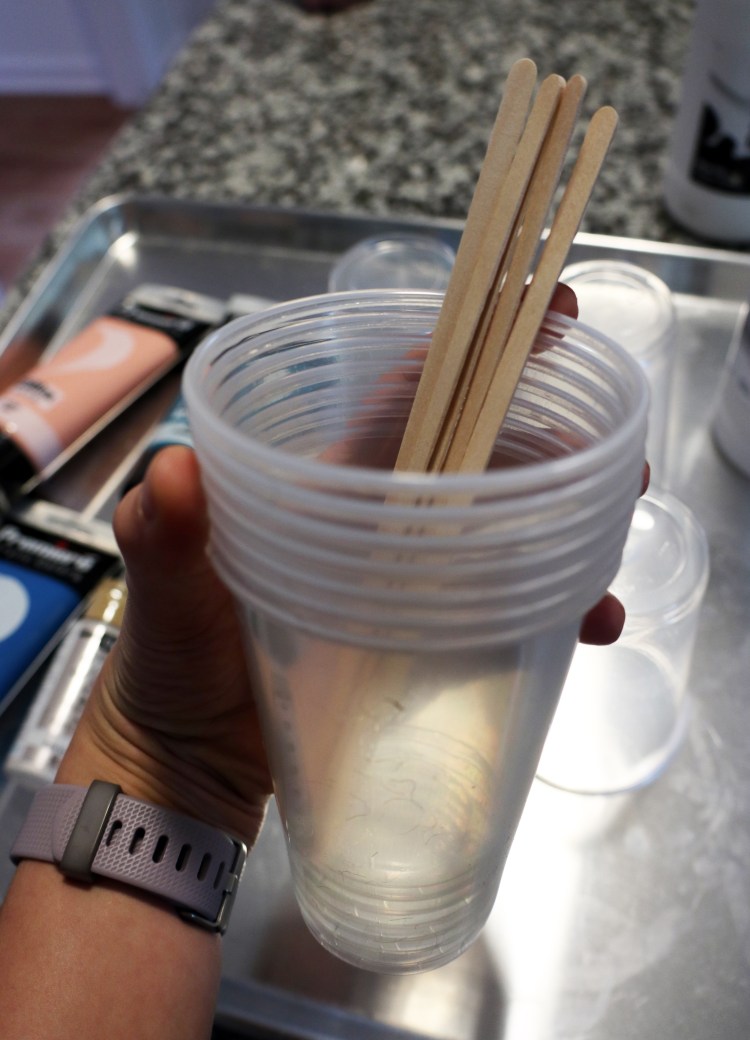
- mixing spoons or sticks
- a canvas
How to:
First off you want to get your canvas ready. A lot of people do not use actual stretched canvas for this because the weight of the paint can make the middle sag. You can use pretty much anything, wood, glass, just make sure to put a white primer coat on it first. In my video I used glass, its actually a picture frame, that was on clearance, I took the frame off of the glass and used the glass as the base. When its done drying I intend to put the frame back on it and hang it up.
After your canvas is ready you need to set up your space. I would do this outside, any time working with paints its generally a good idea to be outside for ventilation. Also this can get pretty messy. You do not want to do this without a tray underneath, it will go everywhere if you do not have something to catch it. A lot of fluid artist will put a drop cloth or plastic down and then set a plastic bin or tray under their piece this makes sure it doesn’t get on anything you don’t want to get it on. Its also a good idea to wear gloves and clothes that can get ruined. If you are an artist or do any DIY things I’m positive you probably already have a DIY shirt or a paint shirt just for things like this.

Put four cups down onto your tray this will hold up your art so that the paint can drip off of it. Another good thing to check before pouring your paint is to make sure your work surface is level. You do not want your art to flip over and you really want the even surface so that the paint doesn’t pool to one specific side.
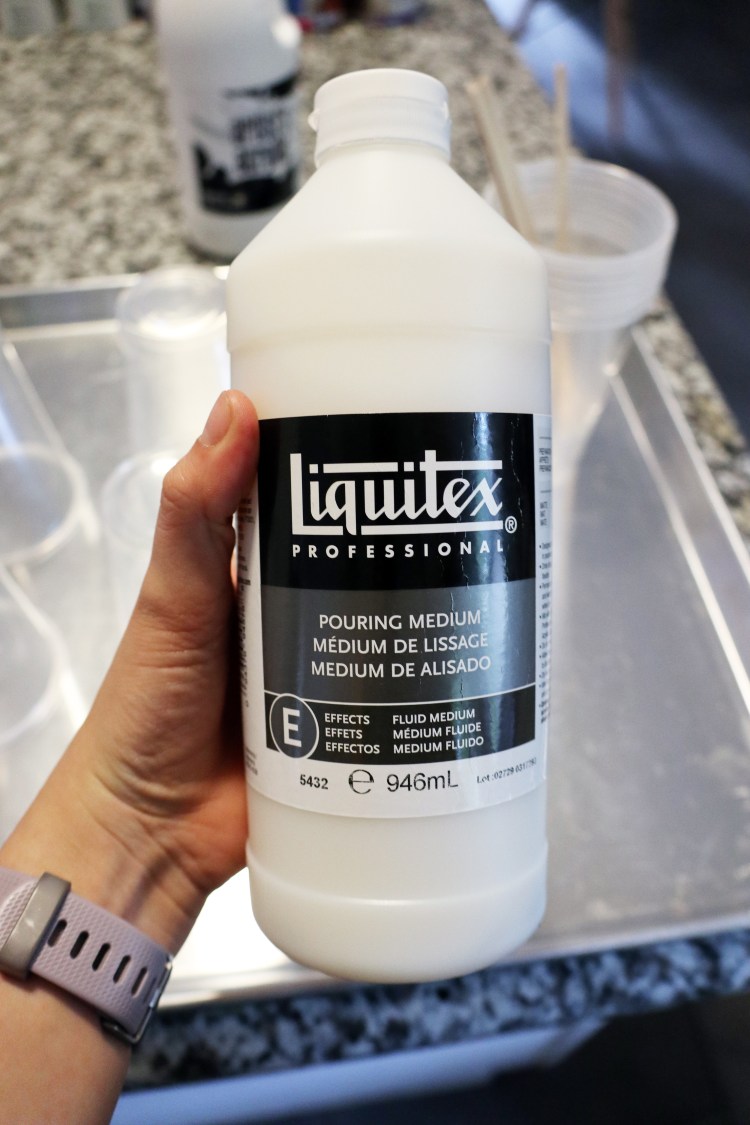
Now on to pouring medium, pouring medium is added to obviously make the paint pour-able it also reduces cracks that may happen when drying and its going to give you a nice looking finished project. First take a cup and put your first color in, you don’t really need that much paint, a little goes a long way. Do this for all your colors. Then add pouring medium to each until its a pour-able consistency. You can also add a small amount of water if it’s not thinning out enough. Make sure not to add to much because too much water will cause the paint to crack and it will not set up right.
Make sure to mix your paint and medium really well you don’t want any lumps or anything like that. Check out my video below to see my pour.
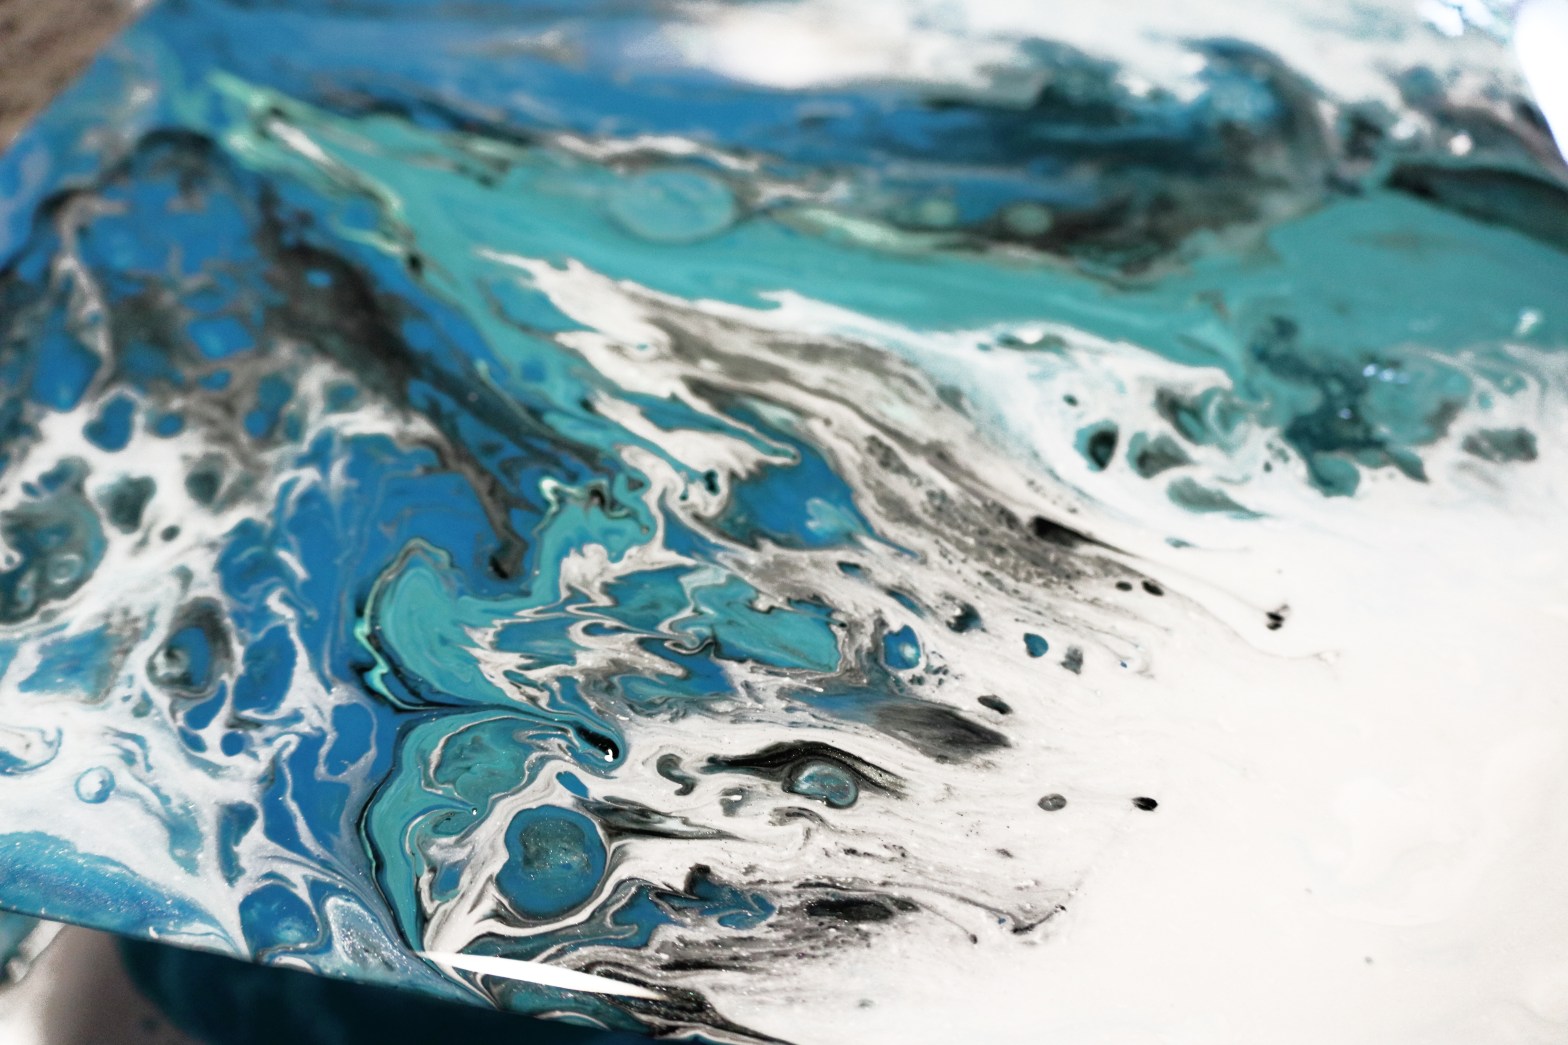
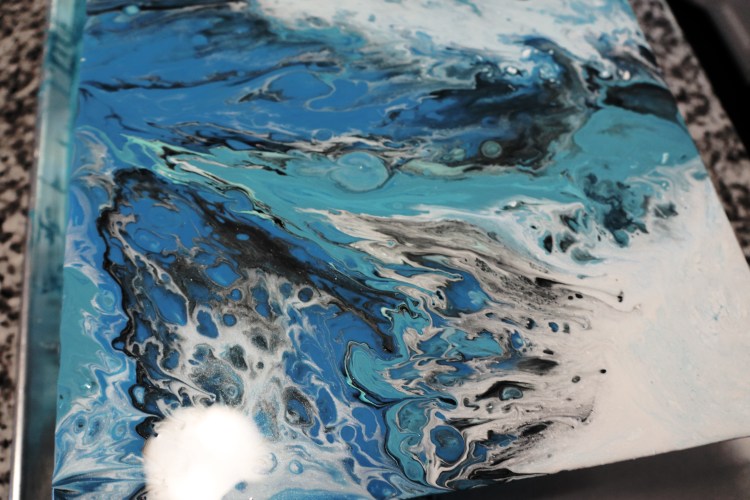
Its a good idea to mix up some white with the pouring medium too, or add some metallic paint to give some uniqueness to your piece. Once all of your colors are mixed, there is a couple different ways you can pour the paint. In my video I added them all but the white to once cup and then poured white around the cup. This worked okay, I did the pour again after and did the cups separately in places where I wanted the paint to be and this felt like I had more control over what it would look like in the end. If you want randomness throw it all in one cup, if you want to be more intentional then do them separately.
Let your art dry completely and then its ready to hang! Some people like to put a resin finish on top but I think the pouring medium does a good enough job with making it look nice and finished but its up to you.

You can throw all of the extra paint into a bottle to keep for your next pour so you don’t have to waist anything. I like this art because its fun and its super easy its something that you don’t have a lot of control over and in the end it usually looks super cool. And of course my favorite part is that it can be done so many ways that you can really make it unique to who you are. If you have any additional questions about it leave a comment below!
Hope you enjoyed this DIY!
Happy Crafting!!!

Discover more from Holy Homesteading
Subscribe to get the latest posts sent to your email.


This is so cool! Love love love
LikeLike
This is a great first attempt! I’ve been doing this for a couple years now and still am in love with the whole process x
LikeLike
so great! thanks for the post
LikeLike