Have you ever seen free pallets on Craigslist? They are almost always a post with free pallets, and there are so many cool things to make out of them. I have been wanting to up my photography game on the blog, I thought it would be a great idea to pick up some free pallets. I got together with my friend Hannah from Plate of Plants she has just started her blog about plant based recipes and we decided to tackle this DIY together. With the pallets I am making a couple different backgrounds for my photos.
Supplies:
- hammer
- chisel or crowbar
- nails
- wood stain
- sandpaper
- brush
- rag
- one wooden pallet
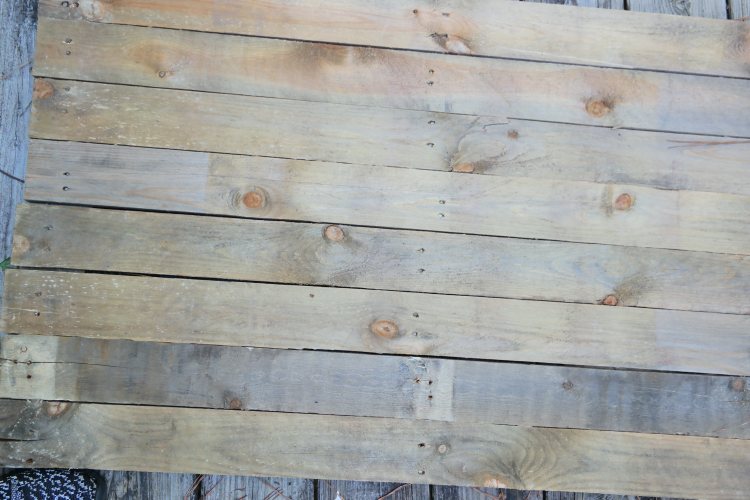
Now if you have ever broken down a pallet you would know that its a lot harder than it looks. Its hard to pry up the boards without splitting them in half.

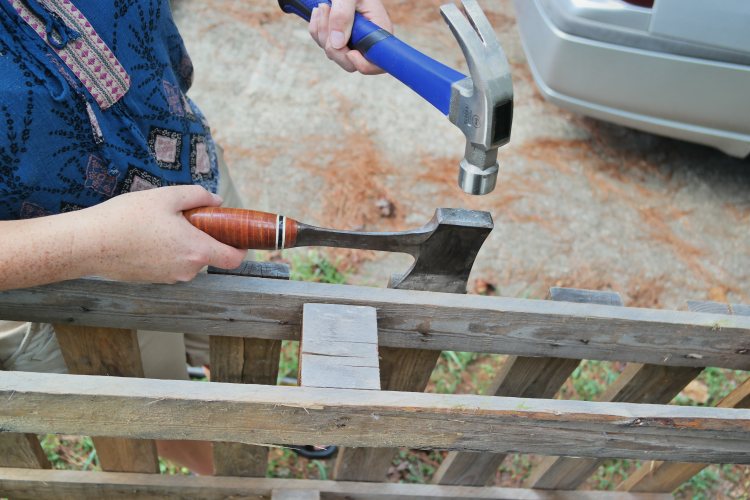
I think the best way you could do it is take a skill saw and saw it apart through the nails. If you do it that way you will not split any of the boards and it will keep everything together. If you have one, you should use it(make sure to wear safety glasses), if you are like me and do not have one you can do it the old fashioned way with a hammer and some hard work. If you have a chisel or crowbar(or in our case we used a hatchet) it will work much easier, you need something to get under the boards so you can loosen the nails enough to get the boards off.
To me DIY’s are all about using what you have to make something useful, we didn’t need to buy a crowbar so we didn’t, we improvised with the hatchet and it worked beautifully. Have fun when you are creating things, if you dont have something on the list, improvise!

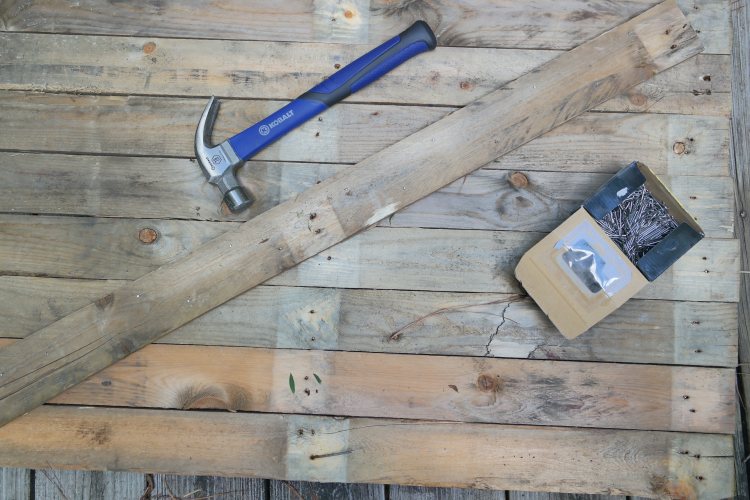
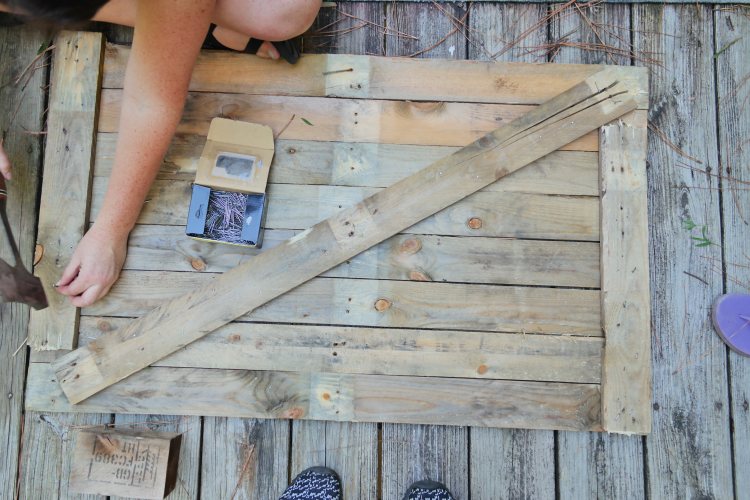
Once you get the boards taken apart you can start to assemble your new backdrop. We took a couple of the extra boards and laid them in a way that would allow all of the boards to be held together. Make sure to sand down and thoroughly clean your pallet wood so that the wood stain can be applied correctly.
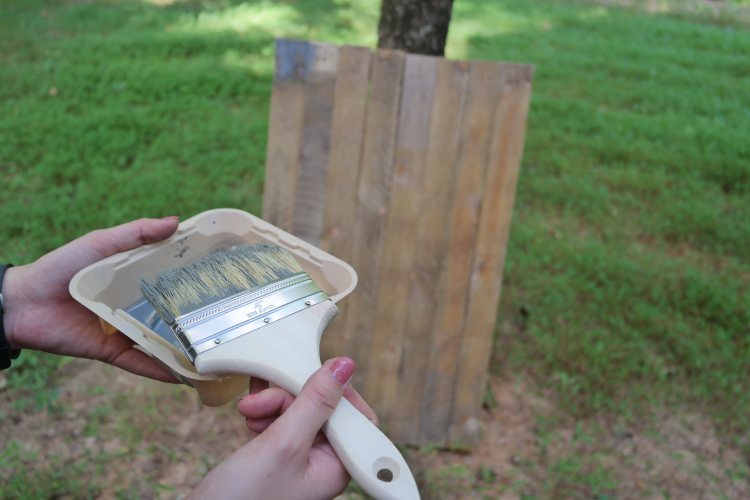
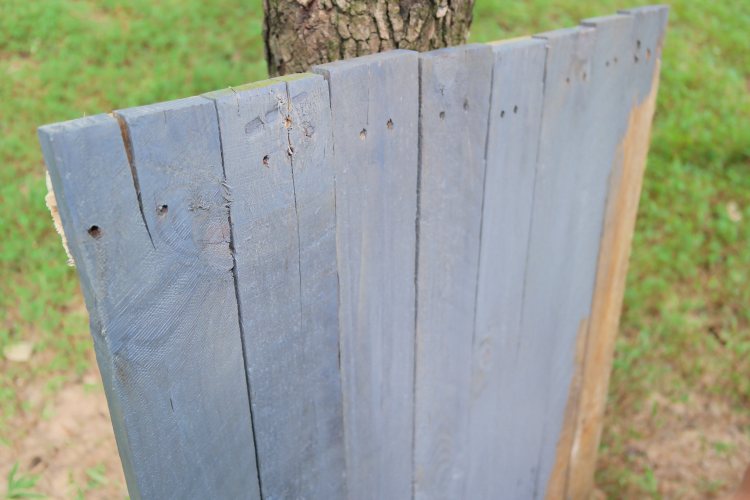
Once we got it all nailed together we started with the wood stain, this is just one coat and we loved the look that we got with the grey stain!
Make sure to follow the rules on your wood stain can and you shouldn’t have any trouble applying it. Remember this is a rustic homemade background its not going to be perfect cracks and nail holes make it more beautiful and more interesting in a photo. 
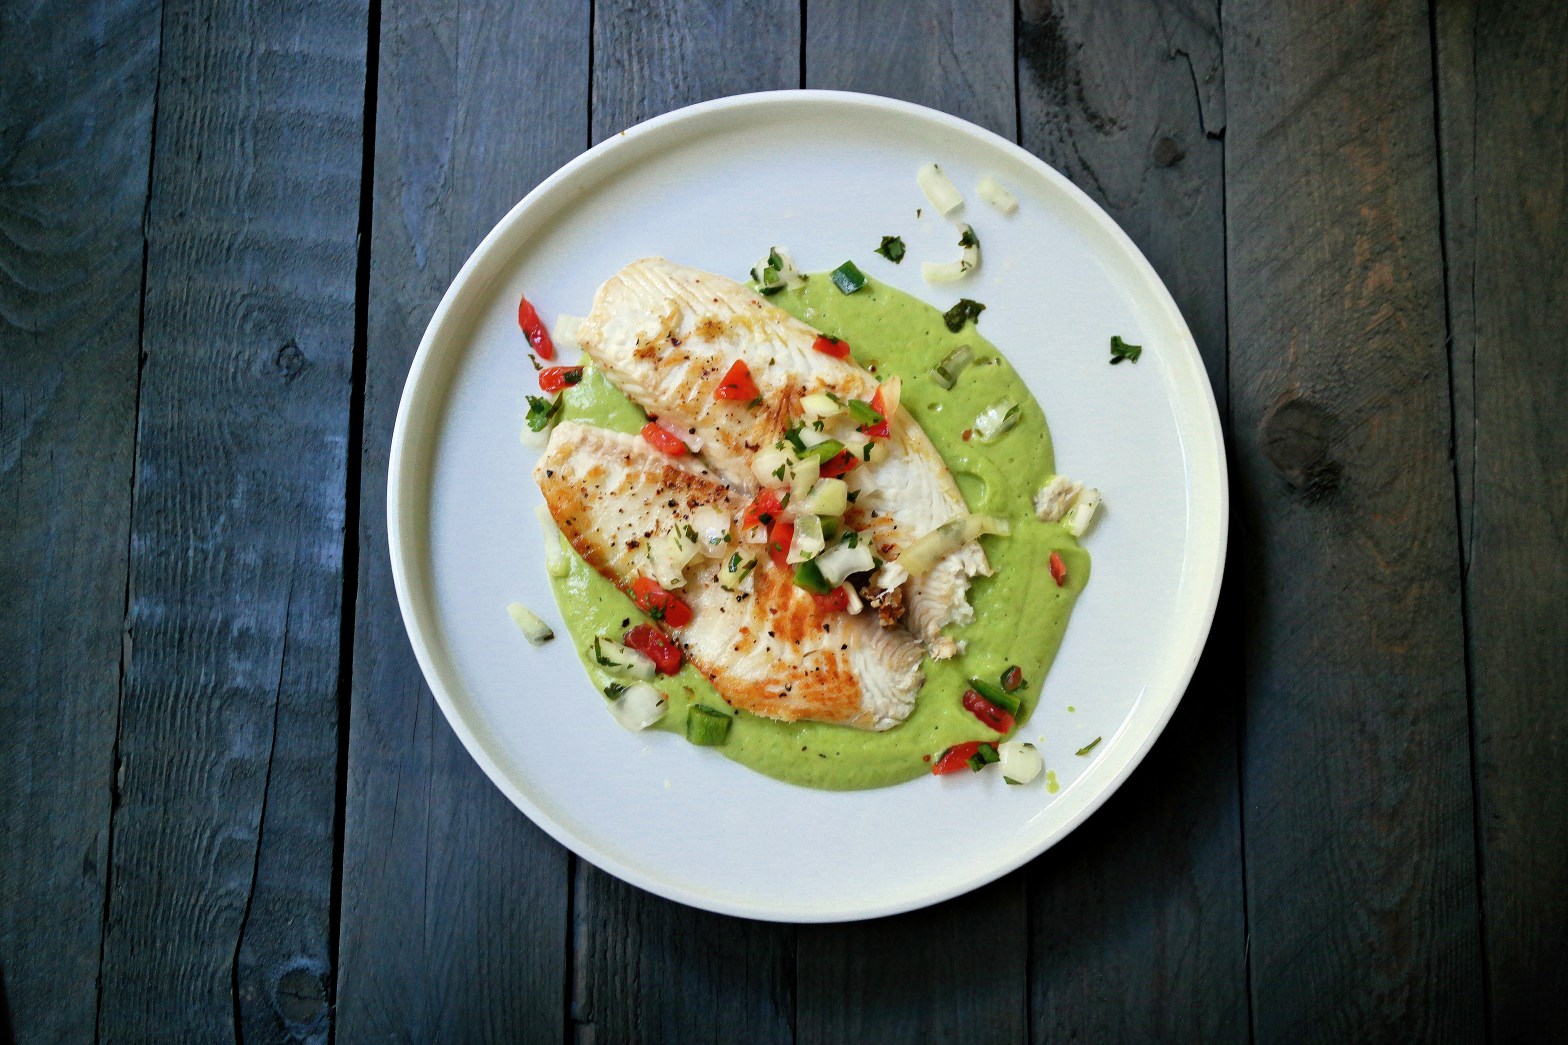
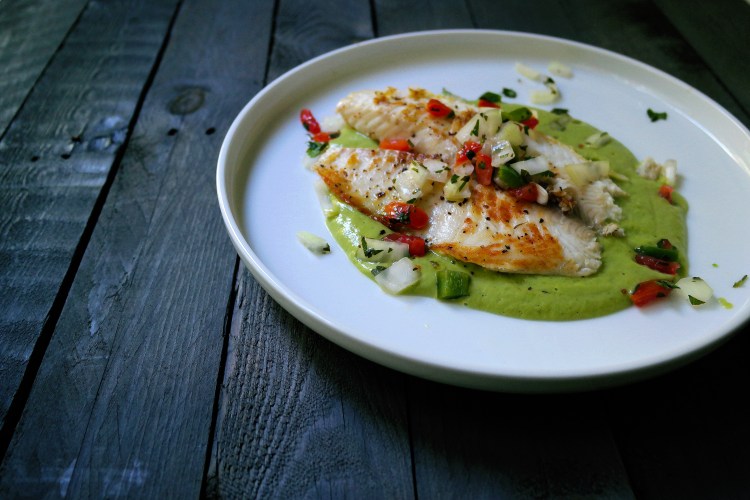
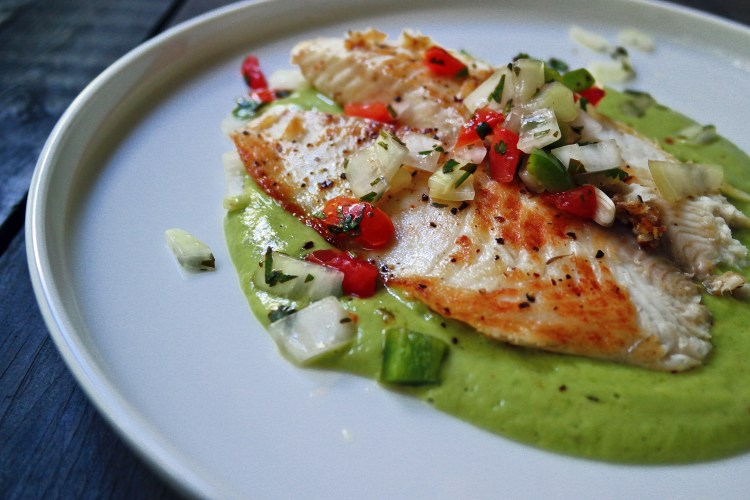
Here is the final product used in a photo, I think this DIY turned out great and I cant wait to make a couple more for my photos! Also please go check out my friends blog, if you love healthy food you will love her recipes check it out at Plate of Plants.

This whole week I have been taking cooking classes at Wyntons World Cooking School in Cary, NC and this was the food we made on our first day of class. If you are interested in cooking at all and are in the Raleigh area I highly recommend his cooking school!
Discover more from Holy Homesteading
Subscribe to get the latest posts sent to your email.

