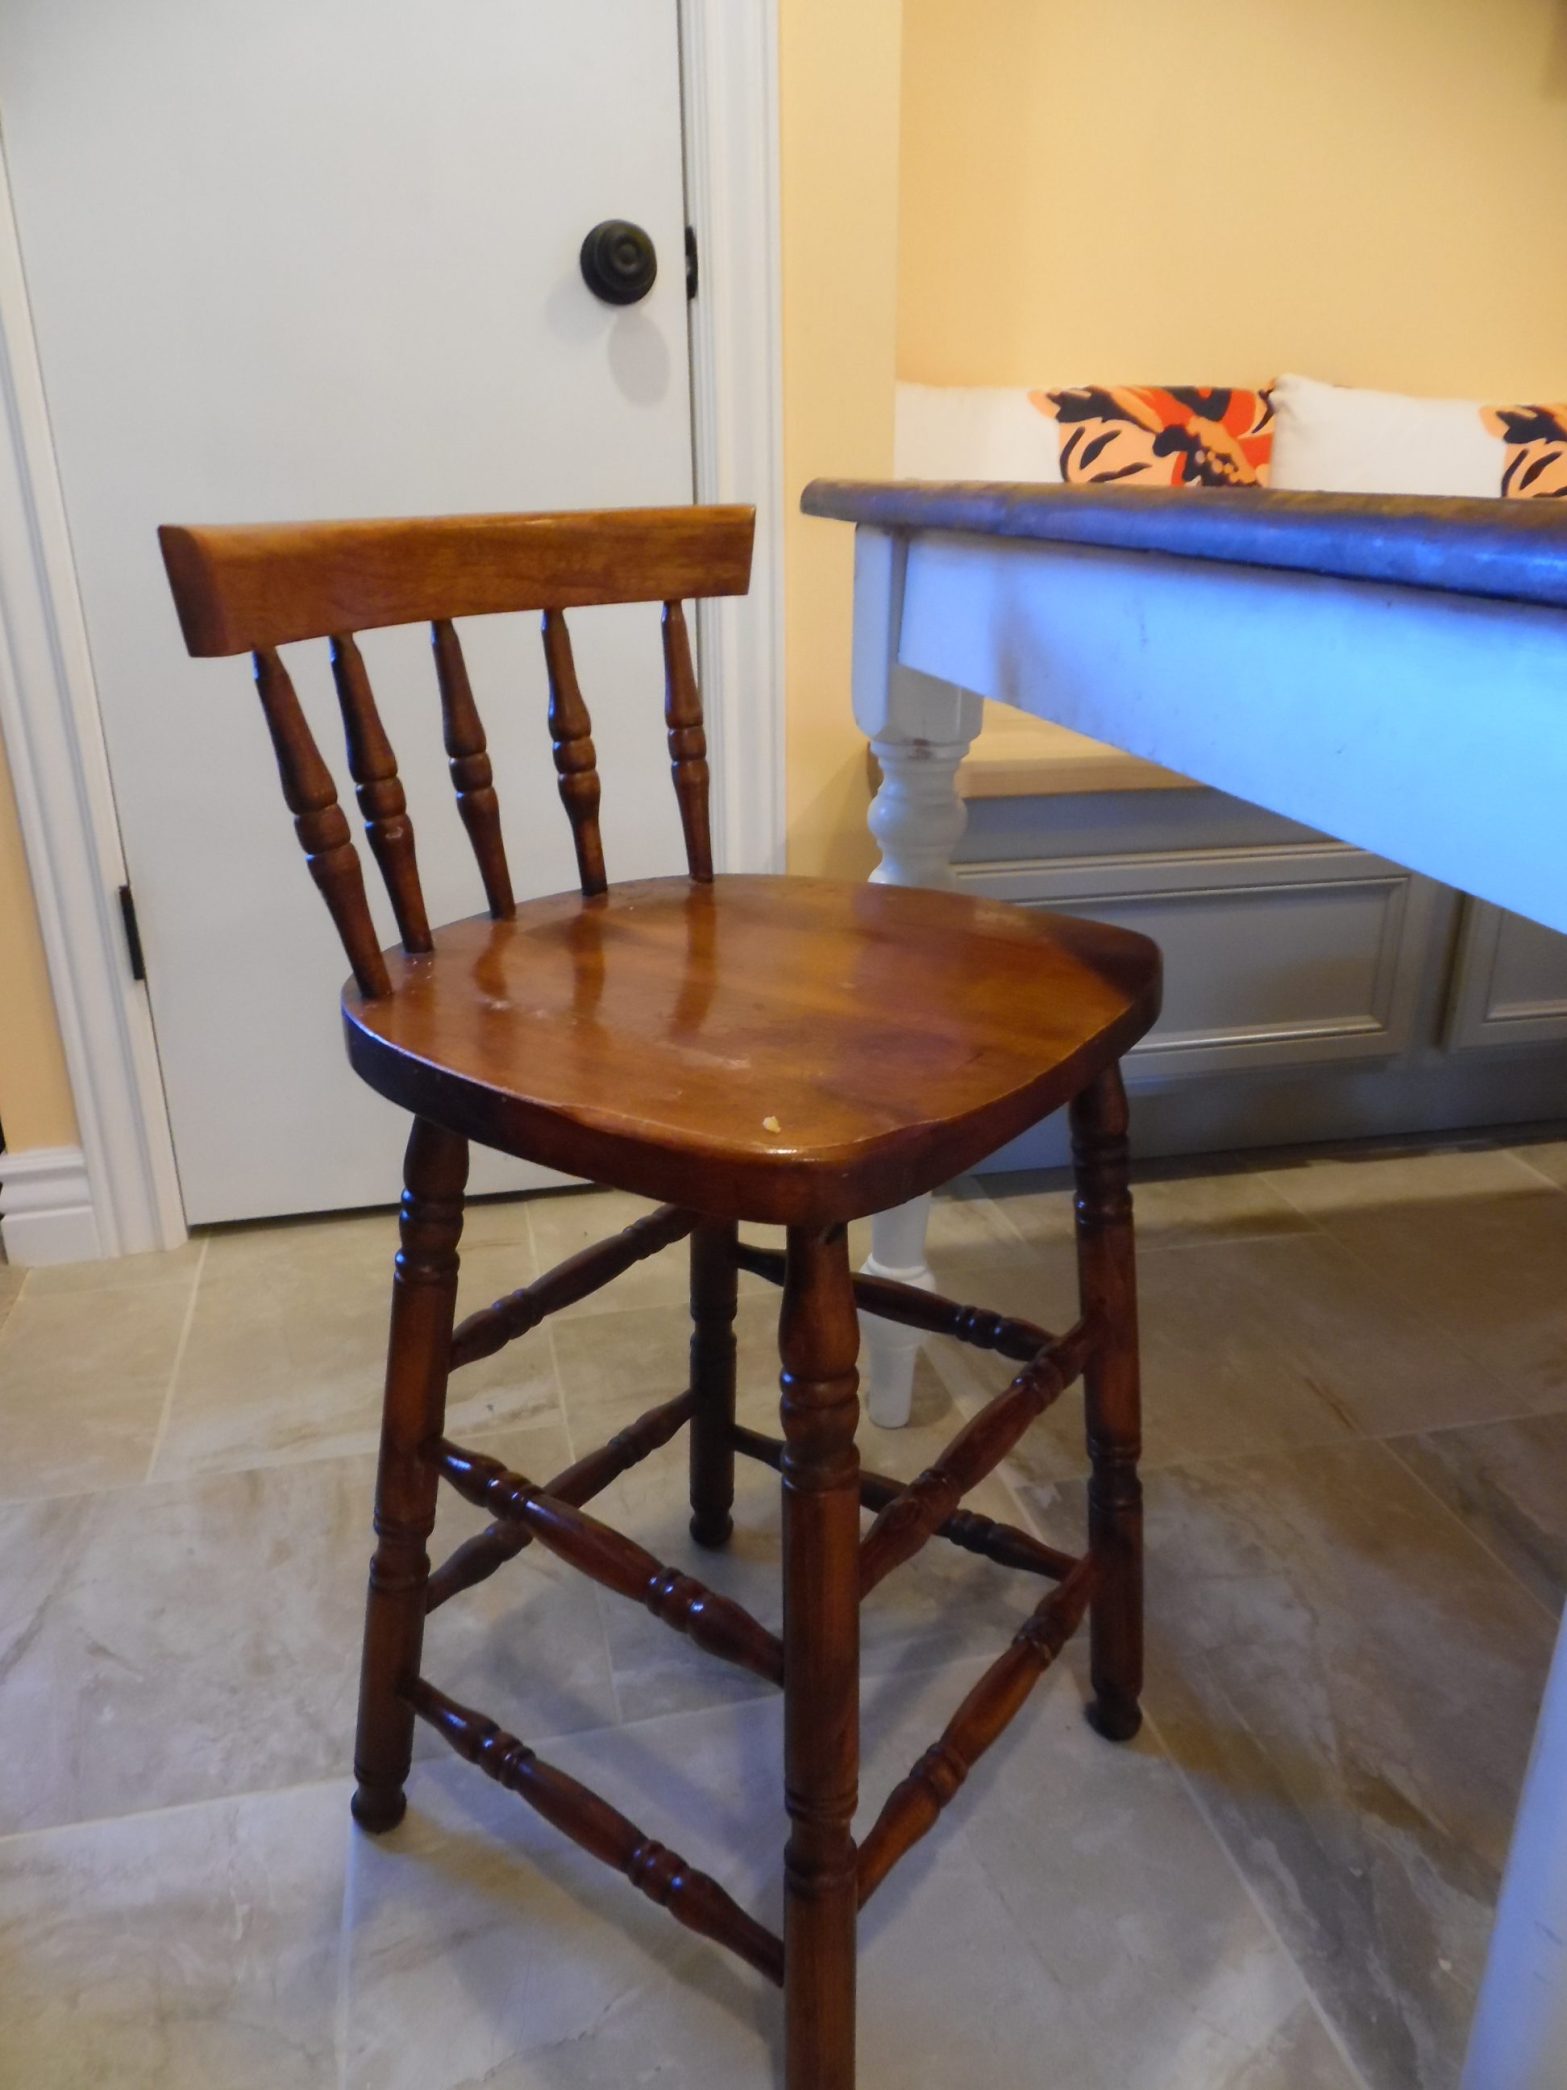
Snagging items for cheep is one thing. Incorporating them into your home design is entirely different. Lets give it a shot with this wooden high chair.
Items & Cost Breakdown:
- Chair- found at Goodwill $8
- Wood Glue- already owned
- Hammer- already owned
- Pliers- already owned
- Goo Off- bought bottle for $6
- Sandpaper- bought assorted pack for $7
- Old towel- already owned
- Utility knife- already owned
- Felt- bought assorted pack for $5
First I decided the chair padding and cover had to go. Removing it was more difficult than I expected. The staples underneath needed to be pulled. After I got the fabric and foam off I noticed two sided tape had been used to attach it, hence the Goo-Off purchase. Finally, remove the old felt from the bottom of the chair legs. While you could reuse this but it’s hard to paint around and who knows how dirty they are.


After all the extras were removed I took the time to do some sanding. This serves two purposes. One it cleans the piece up by removing small nicks and second it allows your paint/stain to adhere to the piece better later.
The other issue this chair has is it’s falling apart. Literally, the glue holding the piece together failed allowing the back to be yanked right off. Break out some wood glue and start gluing it up again. I used my finger to coat the inside holes and the outer rails before placing them. Make sure you use a hammer to tap in each rail into the holes. I had a few clamps that I used to hold the chair together while it dried but it’s not necessary. It’s very important to clean the glue up BEFORE it dries. This stuff sticks so good it’ll tear the wood before it comes off. Not something you want to deal with later.


TIP: To avoid damaging the chair use a wood block between the chair and the hammer to take the brunt of the damage from tapping the rails back in.
Whew- are you tired yet? We are almost done. You could if you like the color it already is leave it at this point or you could paint it. Now I could have put on a new fabric cover but I want to use this for a messy toddler so the nice wood top will work just fine (plus easy clean).
Consider your options for what paint color to pick:
- Your dinning room furniture: This seems the obvious pick but sometimes it’s difficult to match a wood tone color and impossible to lighten an already dark piece. So for this chair I could have stained it a darker espresso color but not a pine blond.
- Your cabinets: If your kitchen cabinets are a solid color this may be a good option. You can have any color matched at a paint store exactly if you need to.
- Other features: Look around your home. Do you have a kitchen island that’s a nice pop of red. Do you accessorize your kitchen in olive green? These are great color choices for a chair like this. It’s not going to totally match in style so why not make it stand out instead.
TIP: The difference between a stain and a paint is limited to it’s wear and application. Stain tends to sink into the wood where paint sits on top of it. I want to avoid scratch marks so I’m going apply a Polyurethane clear coat on top.
Lets jump right in. Start with the legs first. I say this because it’s the most difficult part to paint and you’ll have to turn the piece upside down to do it well. That means you’d possibly damage paint on the top in the process. This can be frustrating to paint because space is confined. I suggest starting in the center of the legs and working outwards as best you can.
Minimize dripping paint by putting less paint on your brush and opting for two coats over one if you need to. After the legs do the back rails and top rail. Last of all do the chair seat. It’s important to do the seat last as it’s the biggest, flattest surface on the chair and will be noticed the most. By doing it last you can make it perfect and walk away to let it dry without bumping into it anymore while you paint.
As I was completing this project dinner time rolled around and I never did get around to painting my chair, I did stain it slightly darker but overall it’s a clean wooden booster seat that my toddler loves.
Discover more from Holy Homesteading
Subscribe to get the latest posts sent to your email.

