
I’m helping organize my sisters baby shower and found a fun way to make signs for the event. By using the clear plastic frames at the dollar store I was able to DIY a sign that fits the theme and looks so pretty!
Supplies:
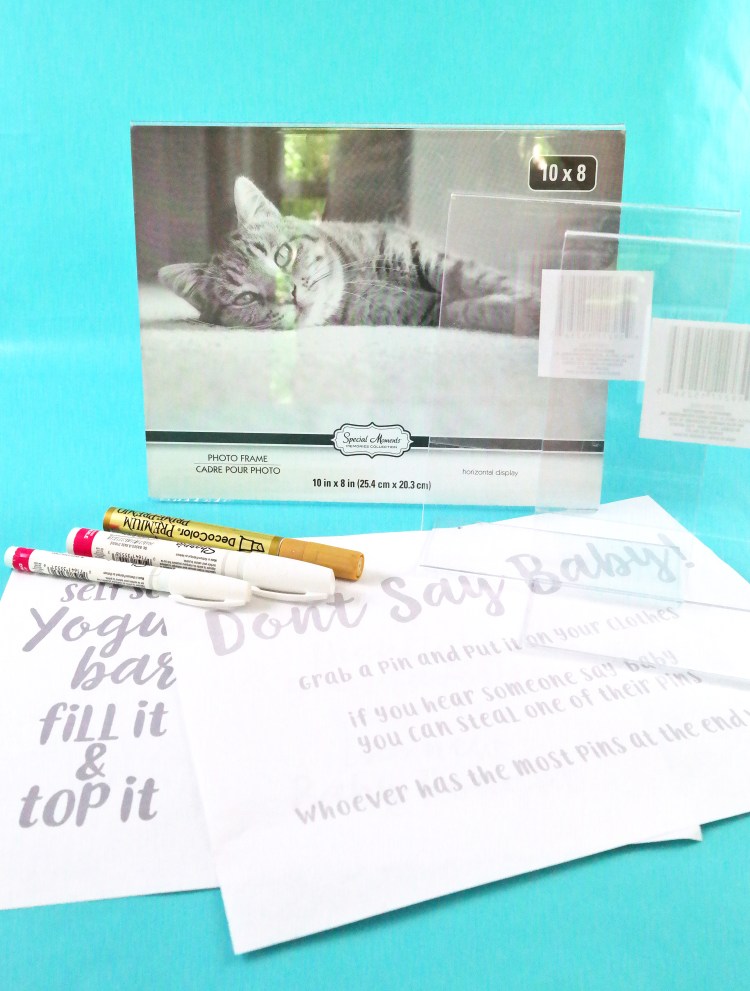
- Clear plastic picture frames
- White and gold oil paint marker
- Printed design or hand drawn design on plain white printer paper
- Tape
- Scissors
How to:
First you need to take your design and fit it into the plastic frame. If you need to cut it down a bit you can do that. Make sure to tape it in place once its in the correct spot. Its important to have your design straight and in the center or wherever you want it to be, because the next step is copying it over. You can make your own design by just sketching it out on the white paper and copying over that. I used a font just to keep it clean and nice looking.

Now that your design is in place you are all set to start copying it over. These oil based paint markers work super well for this, make sure to stay on the lines and it should look great in the end. Its best to lay it flat with the edge that sticks out to hold the picture up hanging over the edge of the table so you can keep the frame flat and steady while copying.
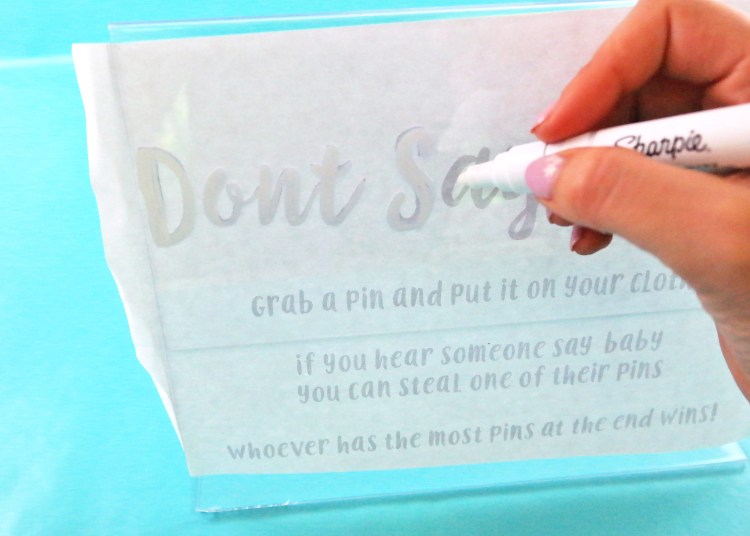
After you are done with the lettering you can add some fun details with other colors. I used an oil based metallic gold and it looks super pretty it comes out really metallic. They sell silver too you can also buy other color paint markers for the lettering depending on your event.

The baby shower is twinkle twinkle little star theme so I added some gold star accents to make it fit the theme.

You can customize this DIY to fit any event. I will post up pictures after the event is done of the signs at the shower too so you guys can see what it looks like being used. If you end up making signs this way send me pictures so I can see too!
Happy Crafting!
Discover more from Holy Homesteading
Subscribe to get the latest posts sent to your email.


These are beautiful you have amazing typography skills! xx
LikeLike