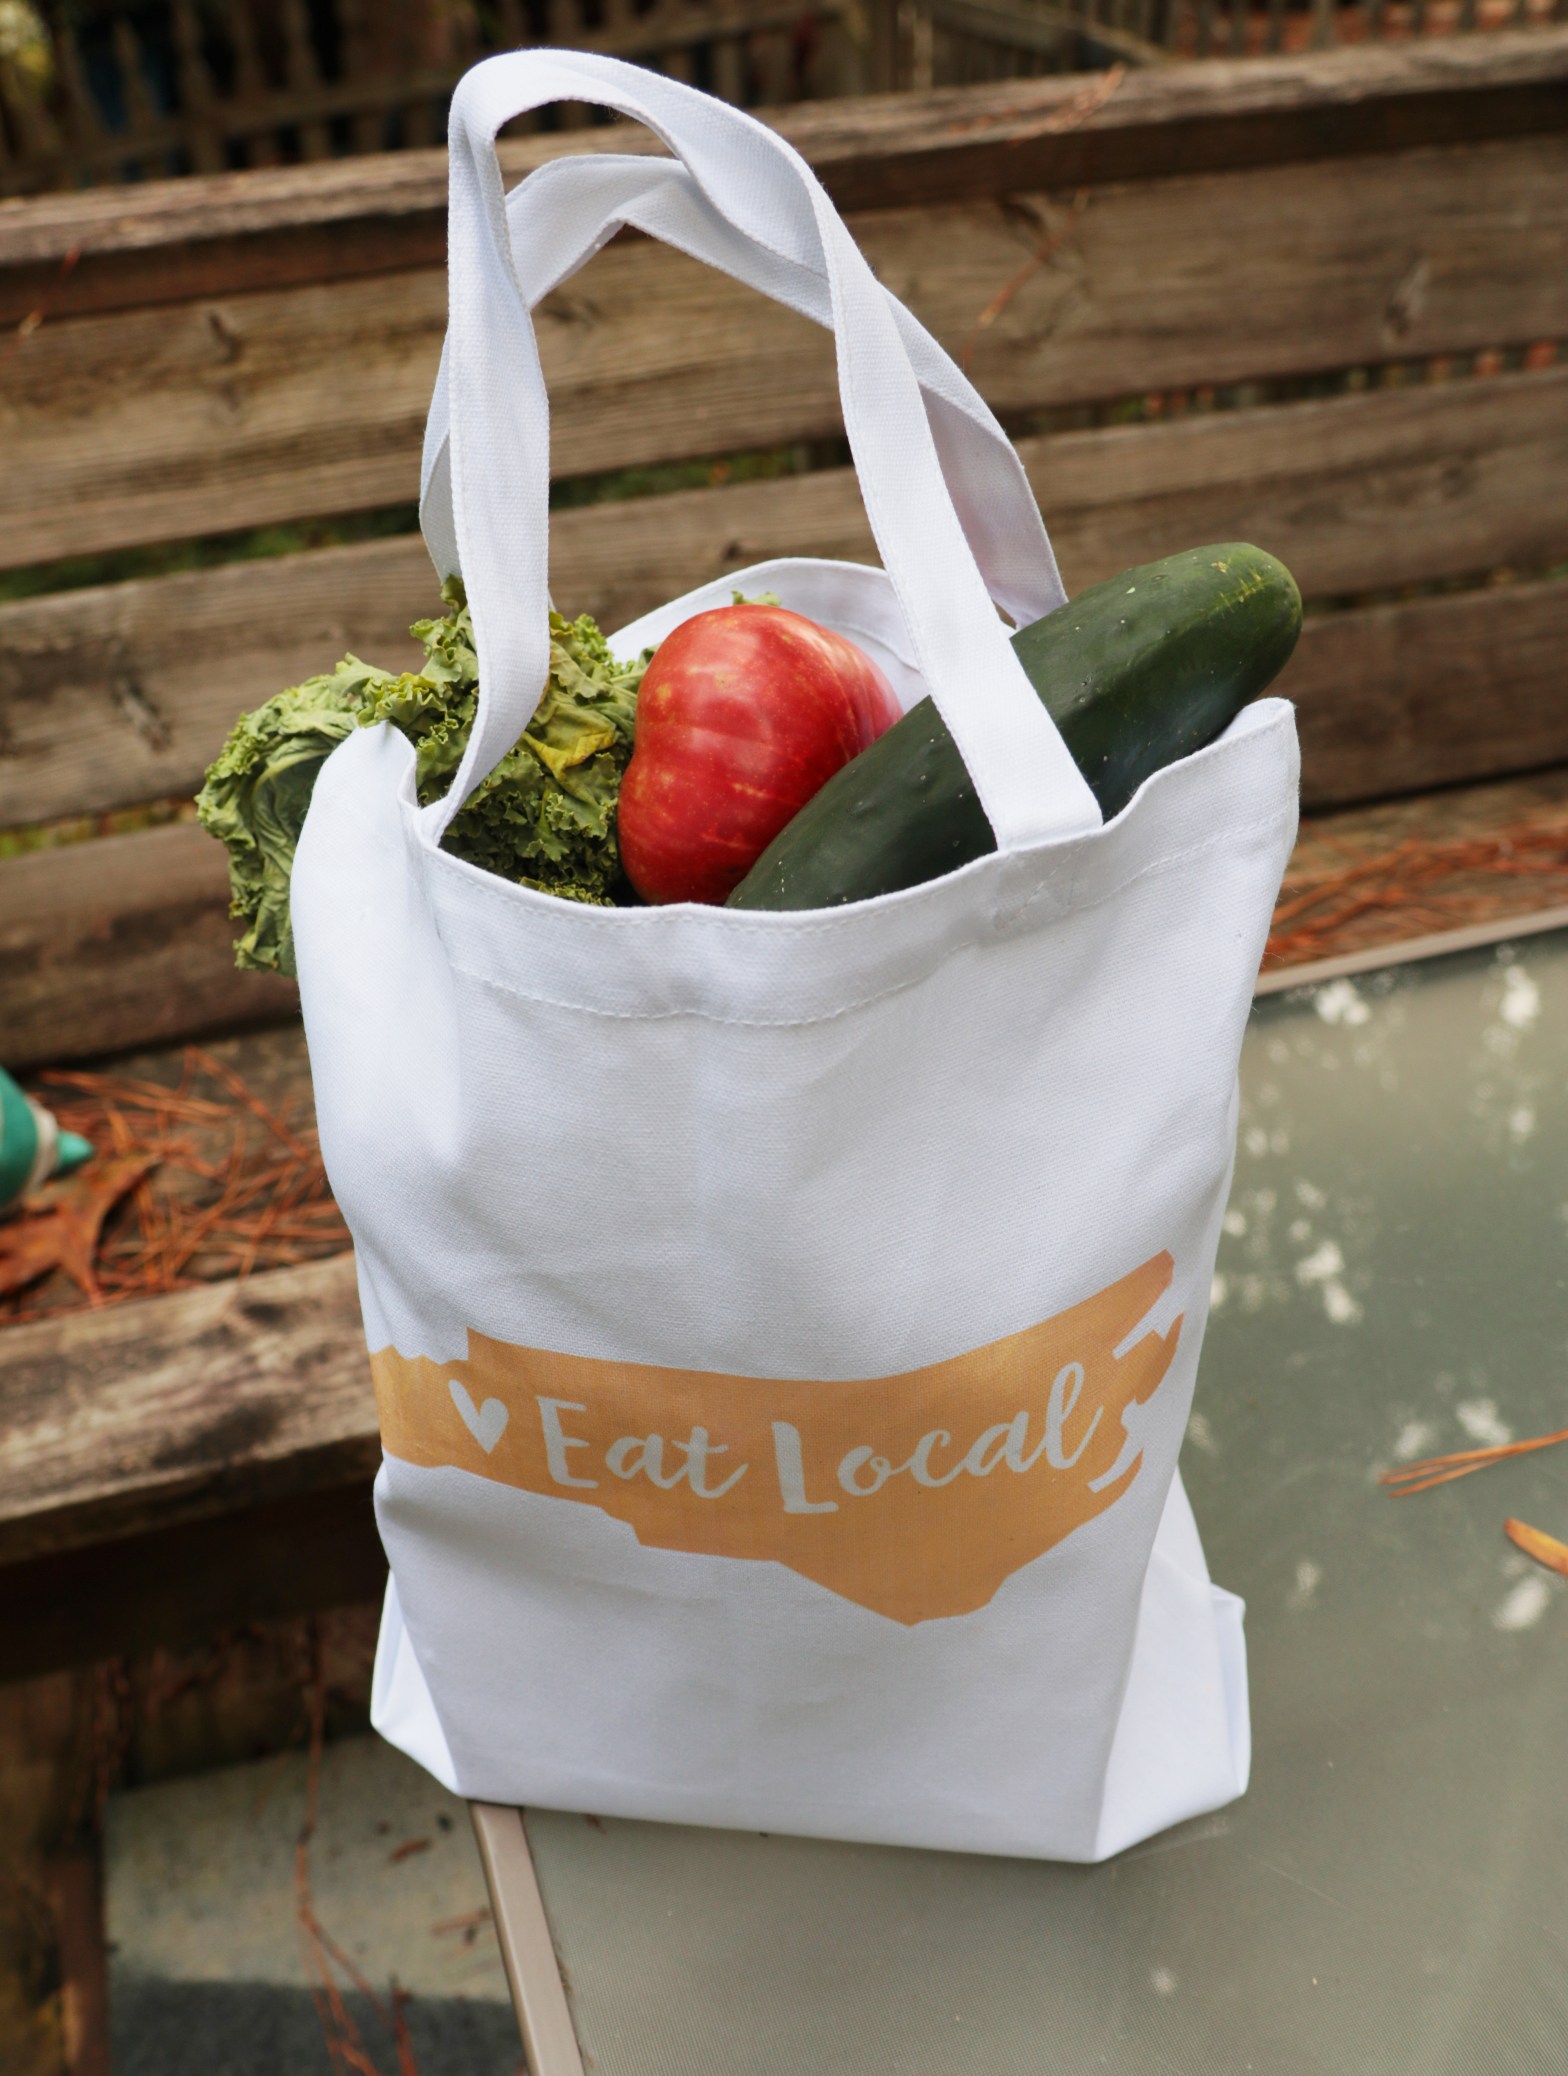
Have you ever been to the farmers market and had to shamefully ask for a plastic bag? If you are already trying to do things right by eating locally you should bring a reusable bag so that plastic isn’t needed. Fabric Transfer paper is awesome for making custom designs on whatever fabric you want. All you have to do is find a design or make one and print it off with fabric transfer paper and then Iron it on to your fabric.
Supplies:
- Iron on Transfer paper
- Printer
- Scissors
- Iron
- Canvas Tote Bag
- Printable Design


Step one: Design
I made a simple design in Photoshop for this tote because I know the program already you could use publisher or even word if you are just doing letters or a phrase. If you use this brand of paper they have a website that has designs already made up or an area to make a custom design. Remember when it prints it needs to be mirrored so that the words will show up the right way.
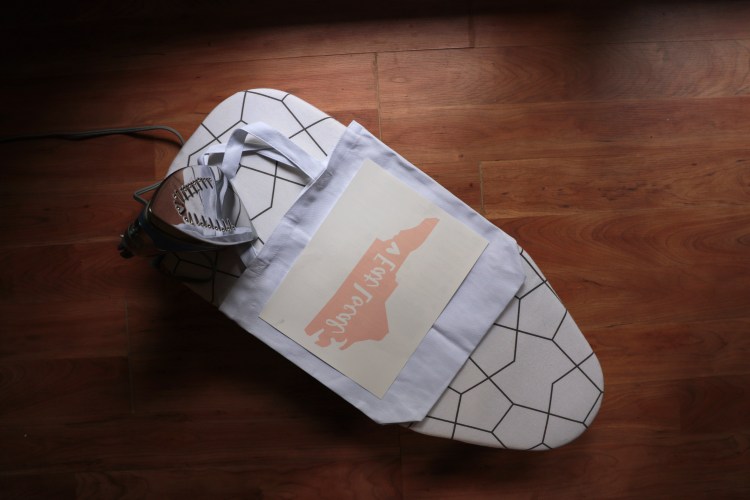
Step two: Print and Prep
Once you are done with your design print it out. When ironing things onto fabric you want to make sure the fabrics been washed so make sure your fabric is clean. You also need to cut out the design as close to the design as possible. Plug in your iron and figure out the placement of the design.

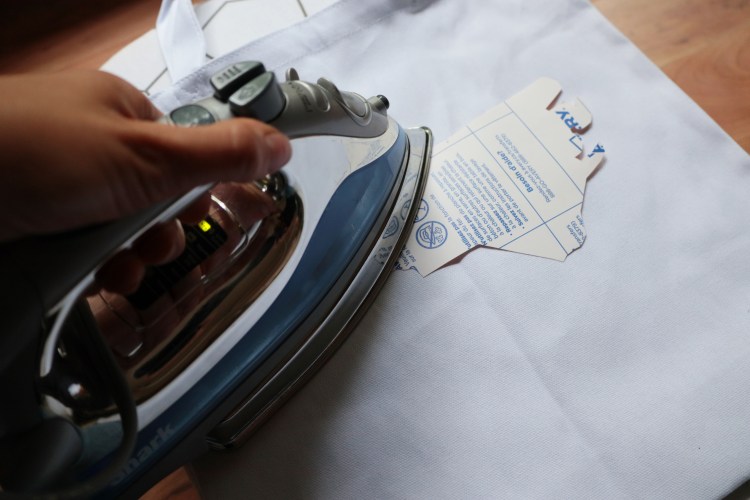
Step 3: Ironing
Once I had it in the right place I used an iron to iron on the design. I ironed for about a minute and a half and that seemed to work really well for this size design.
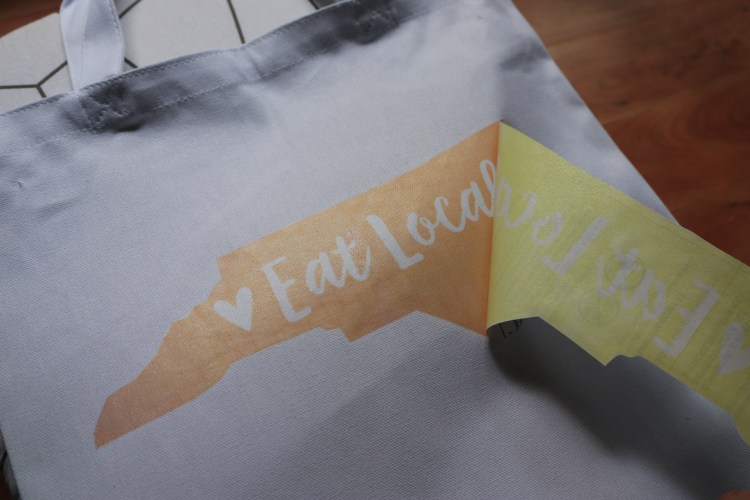
Once you are done ironing peel of the back paper to reveal your custom tote!
Hope you enjoyed this simple DIY!
Happy Crafting!!


Discover more from Holy Homesteading
Subscribe to get the latest posts sent to your email.


This is so stinking cute!!
LikeLiked by 1 person
Thanks ^_^ I should make some Michigan ones up for you guys
LikeLike
I love the look if this so much!
LikeLike