
After making my own Hand embroidered patches I have been looking for places to put my newly made patches and ones that I have collected over the last year. My jean jacket is filling up so I decided to switch over to baseball caps!
You can buy a plain baseball cap at any craft store for around 3 dollars or less. With summer here now its a perfect time to make some custom hats that you can wear out in the sunshine.
Supplies
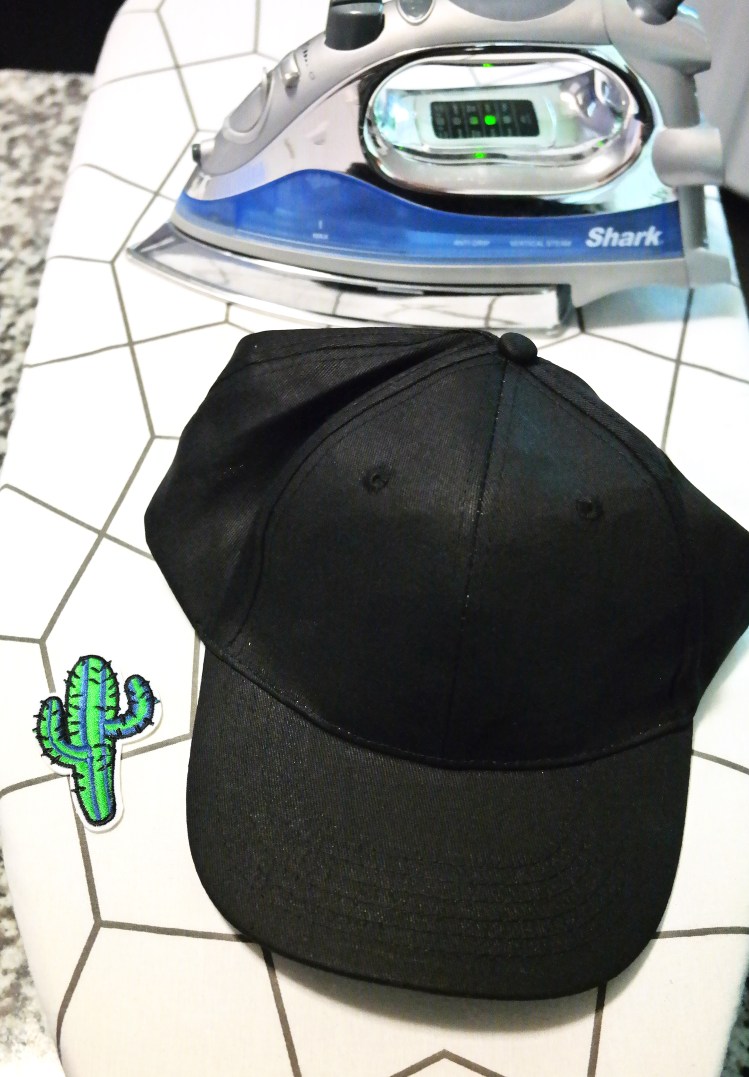
- Black baseball cap (you can choose whatever color you would like)
- Patches
- Iron
- Ironing board
How to:
If you have never done an iron on transfer before, just know that its actually very simple. All you need to do is iron it on. I have had some issues with some patches not wanting to stick very well so I will give some tips below on how to make sure the patches stick well.
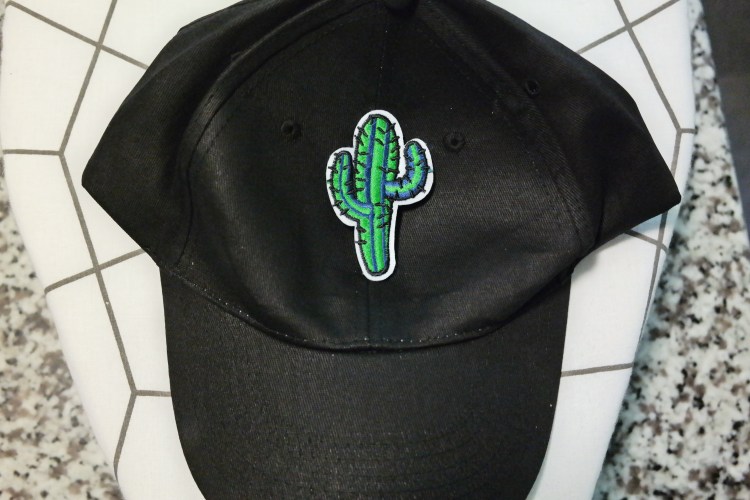
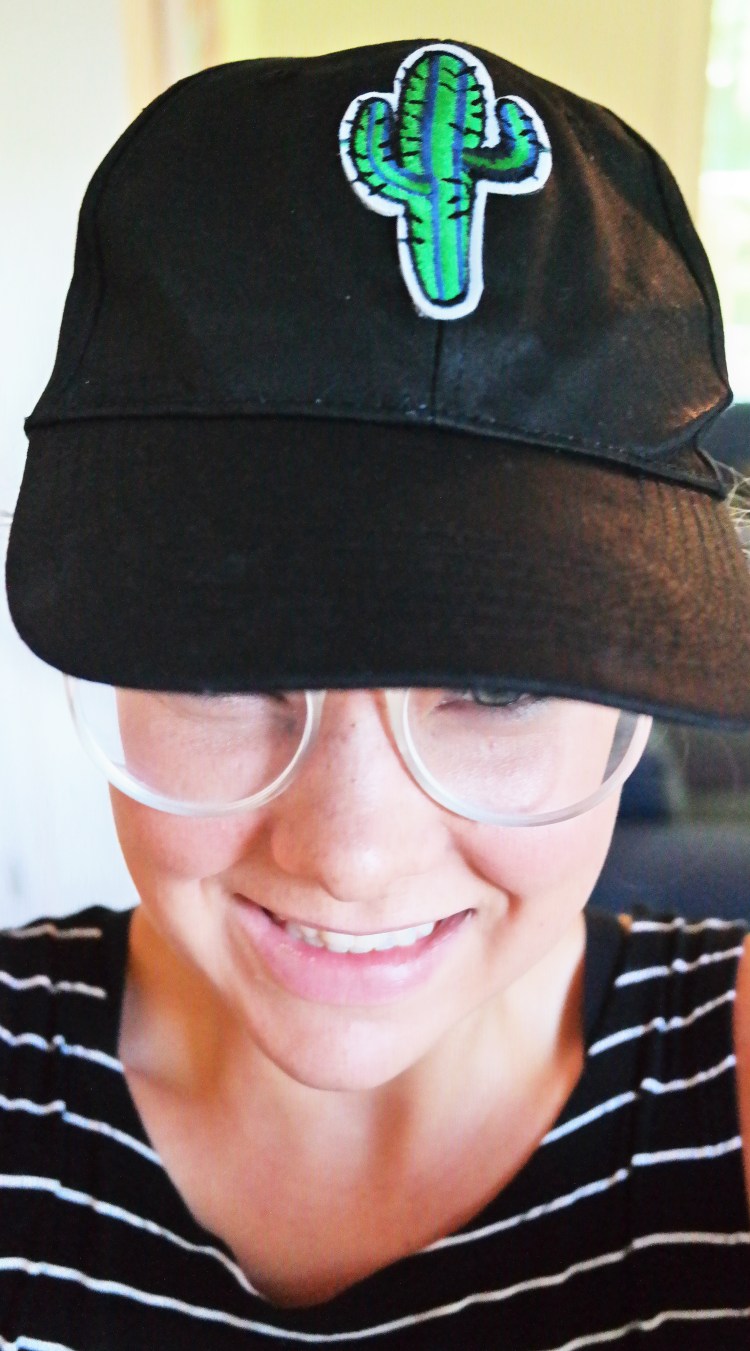
Get your ironing board out and figure out where you want to put the patch. If you are not sure you can pin it on and then see where you like it best when you are actually wearing the hat. I would really recommend this because when you have a hat on it looks different then when not wearing it. See image below for placement options.


After finding the placement of the patch you can now iron on your patch.
Tip 1: Always first try to do exactly what the packaging says, this should work the best but in case it doesn’t check out my next tip.
Tip 2: Iron on from the back. If its sticking some but the edges are still peeling up I would flip the fabric to the back, and iron the fabric that is touching the backside of the patch. This gives you more direct contact to the heatbond so that it will heat up all over and hopefully stick better.
Tip 3: If all else fails, steam it with your iron. I have a steam iron that will shoot a burst of steam when I click a button, it heats up the patch really quickly and should work really well and get your patch to stick all the way down.
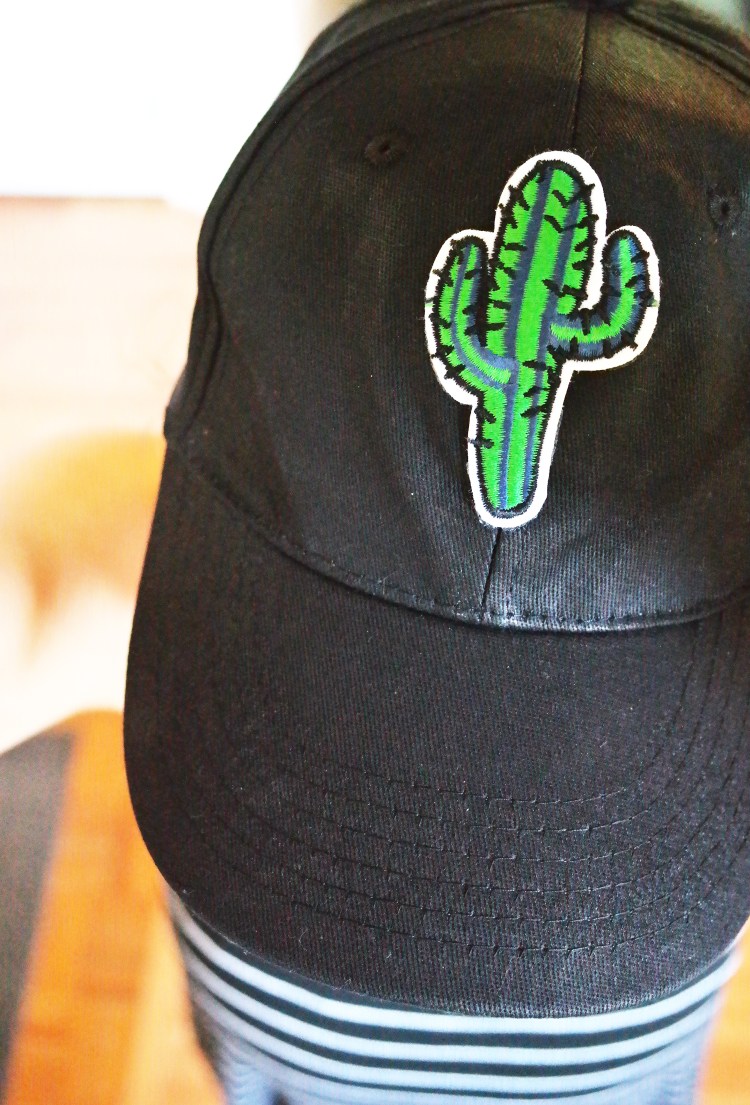
Hope you enjoyed this simple fun DIY!
Happy Crafting!!!
Discover more from Holy Homesteading
Subscribe to get the latest posts sent to your email.

