Part of my creative flow are projects that bring me stimulation and the joy of a finished project. This is especially nice when I’m midstream on a novel and the end is farther away than I want to admit. So here is my project of the week!
I scored four matching picture frames from a local department store on Black Friday, 11×14 in size. But what to put in them? You’ve probally guessed by my title. Sheet Music! I’m not talking about the note pages, although that would be beautiful as well, especially if it was a meaningful song. I mean the old music covers that are works of art in of themselves. Check out my Pinterest page for examples and inspiration.
Here is how I made these unique art pieces:
1. Pick where your art will hang. My hallway is long and I have one wall with nearly 10 feet of blank space. So I know I need more than one piece on the wall to take up the space. Your area may be different from mine, just take it into consideration so you don’t get done and find what you made does not fit in your space.
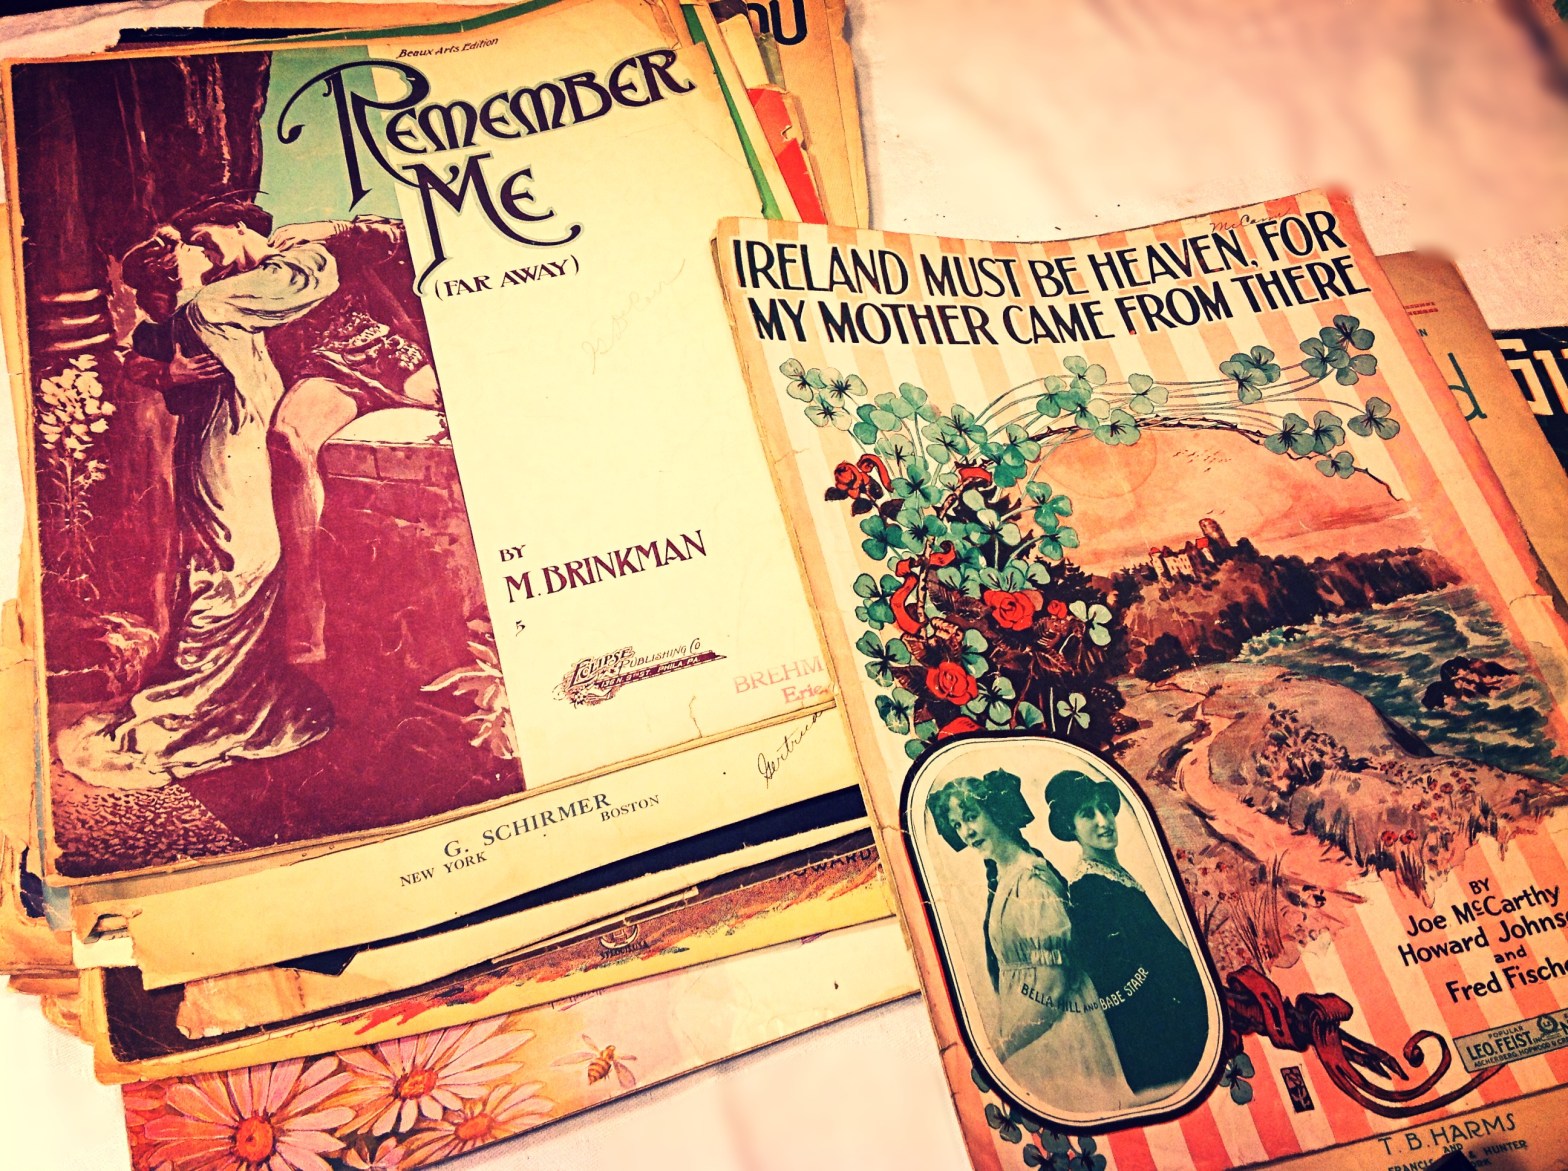
2. Pick what you want to frame. This is important with older pieces of paper as most things were not standardized like they are today. I found I had three sizes of sheet music 10.5×11 (abnormal), 8×11 (standard), 11×14 (large). I did not want to buy a specialty frame so the fist set I decided against. Ultimately, I choose the large size because I wanted it to take up more space in my long hallway. I have a whole box of music sheets and I want them to match to a certain extant. So I sorted them by color to see what went best together and what themes those colors had to pick from. Each piece is unique but because of the colors they flow together as a cohesive group.
TIP: You don’t have to frame sheet music, it could be old magazines, prints from an old book that has fallen apart, or even vintage post cards. I found my sheet music at a yard sale and thrift store. Check inside old piano benches and even your organist at church may have a stack somewhere at home.
3. Find your frames. Frames can be pricey so check for sales and discounts. I wanted a middle grade frame with glass to hold the frail sheet music in place and protect it. Old prints used different inks and dyes so avoid placing it in direct sunlight to avoid fading over time.
4. Place your art. First lift the tabs and remove the back of the frame. Some of my sheet music has damage from wear over the years. Personally, I like the wear and find it to be even more unique so I’m looking past it.
TIP: The backing board of the frames has a nice black that matched the frames. Instead of finding some backing paper, simply flip the back board around so the finished side faces the frame. No one sees the back of the frame anyway.
5. Arrange your music. Then set the backer back in and close a couple of tabs. Flip it over and check it before you flip all the tabs to make sure it is centered and looks good. If you like how it looks finish folding the tabs back into place to hold it snug.
6. Finishing Touches. I wash the glass carefully to remove any figure prints. My frames came with wall hooks but if yours don’t you may have to add them.
7. All that’s left is to hang those frames on your wall and enjoy! If you can find your wall studs great! And if you don’t have studs where you want to hang be sure to use some anchors rated for the weight of your art.
What creative distractions keep your mind engaged? What other ideas for framing do you have? I’d love to hear from you!
Discover more from Holy Homesteading
Subscribe to get the latest posts sent to your email.


One thought on “Sheet Music Art”