
Today I am going to show you my process of making a super simple Cactus Pillow!
Supplies:
- Fabric
- Tissue Paper
- Pencil
- Scissors
- Pins
- Sewing Machine or you can sew this by hand
- Embroidery thread and needle
How to:
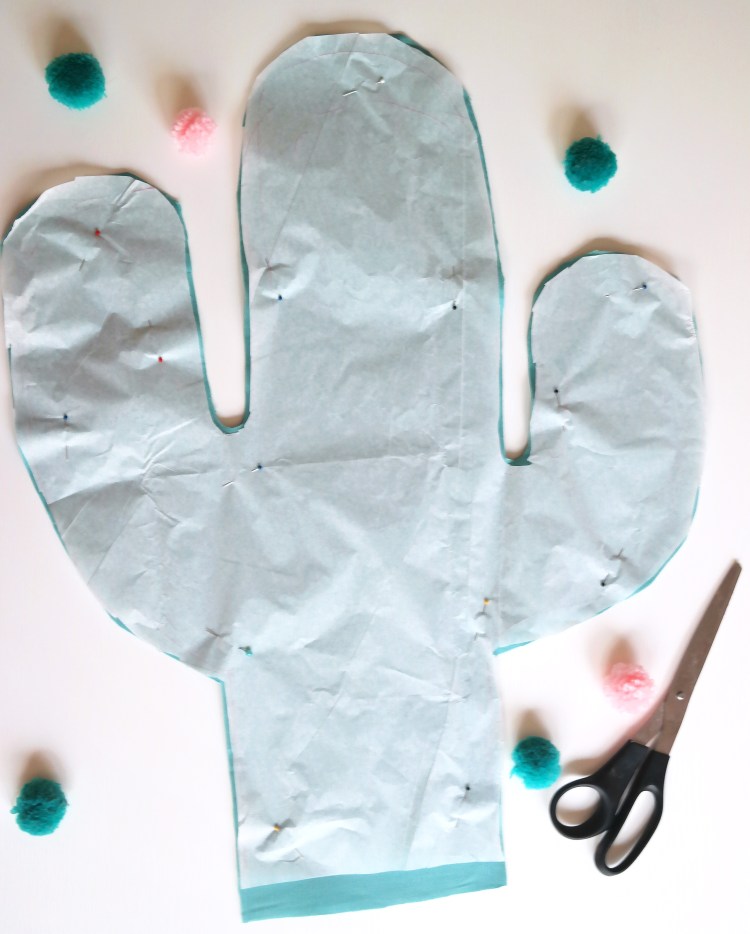
First you need to make your pattern. I took tissue paper and drew out what I wanted my cactus to look like. You can do any type, shape or size its up to you, that is why I did not give fabric dimensions because you can size it however you want. Cut out your pattern and pin it onto your fabric. I have my fabric doubled up here so I can cut once and get two identical pieces for the front and back.

Now once you get that pinned you can take your fabric scissors and cut out your pattern.
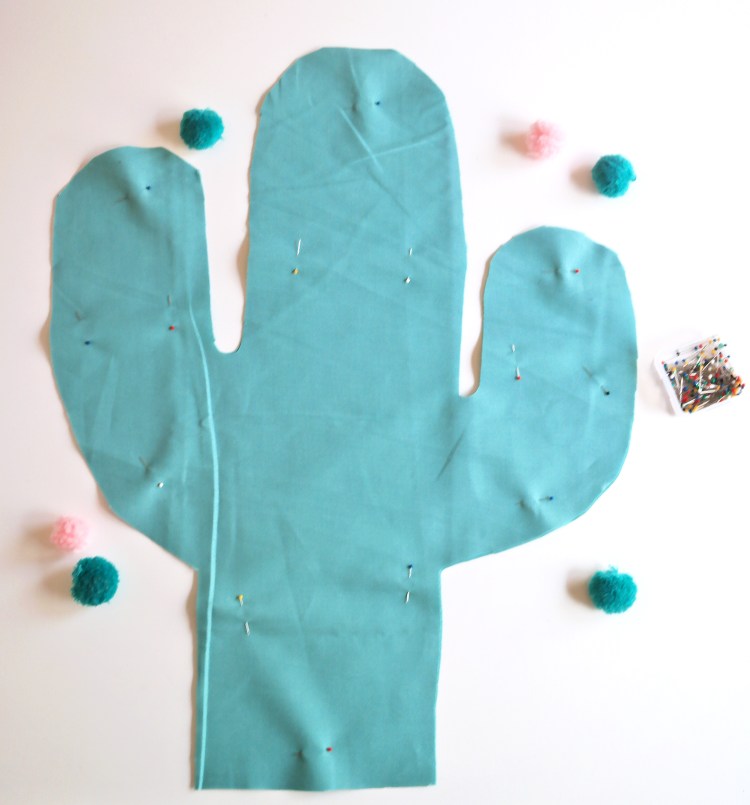
Take the pins out of your pattern and set the pattern to the side. Now you can pin together your two pieces of fabric. If you are using a fabric that has a different front and back, remember you want the outside fabric to be on the inside right now because it will be flipped inside out once sewn.
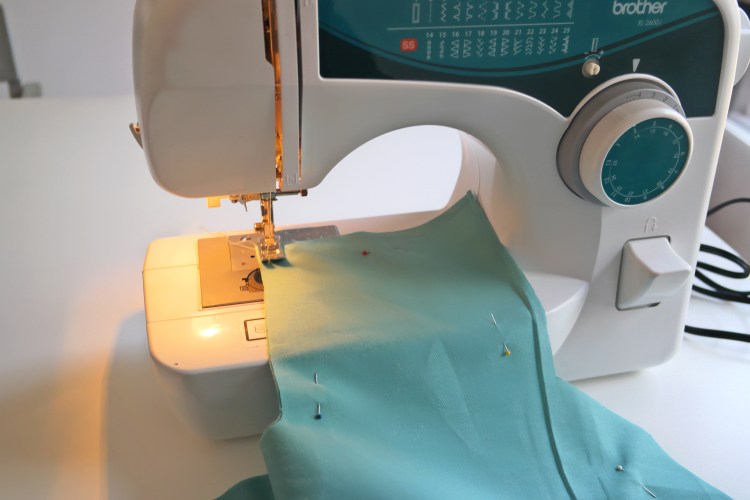
You are now ready to sew! You can do this by hand but it is so quick and easy on the sewing machine. Leave the bottom not sewn so you can stuff the pillow there. Sew on all edges but the bottom.
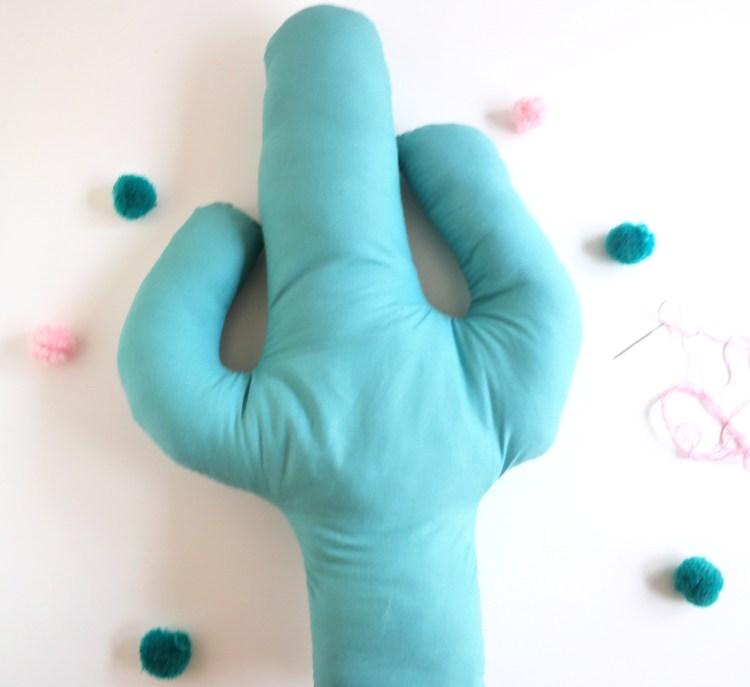
Now you can flip your cactus inside out and get ready to stuff it!

Take your stuffing and fill all of the cactus as much as you would like with stuffing. I did mine as tight as I could.
Now we are going to add the spikes to make it look more like a cactus. You can do the spikes in any color I chose a light pink. The slideshow below will show you how to create this simple knot.
Add the knots all over until it is completely covered as much as you would like. You can do the front and back or just the front it is up to you.

All that is left is to hand stitch the bottom shut. Make sure your stuffing is how you want it and do any last minute adjustments before you stitch it up completely.

You are finished! Enjoy your awesome new pillow!


Discover more from Holy Homesteading
Subscribe to get the latest posts sent to your email.


One thought on “DIY Cactus Pillow”